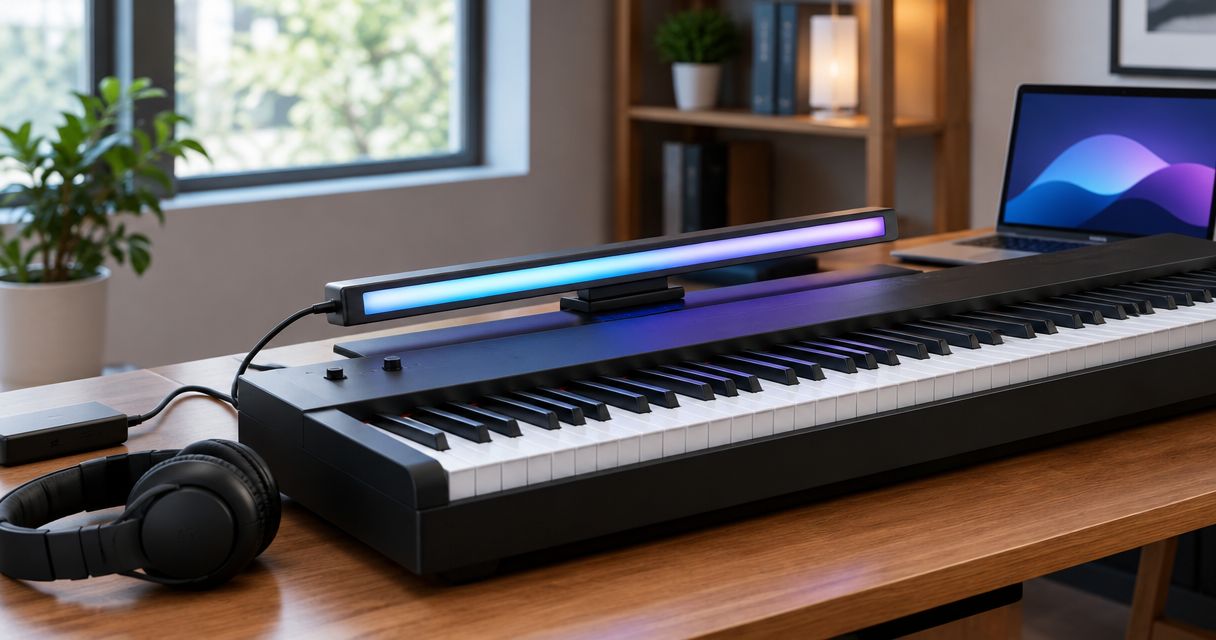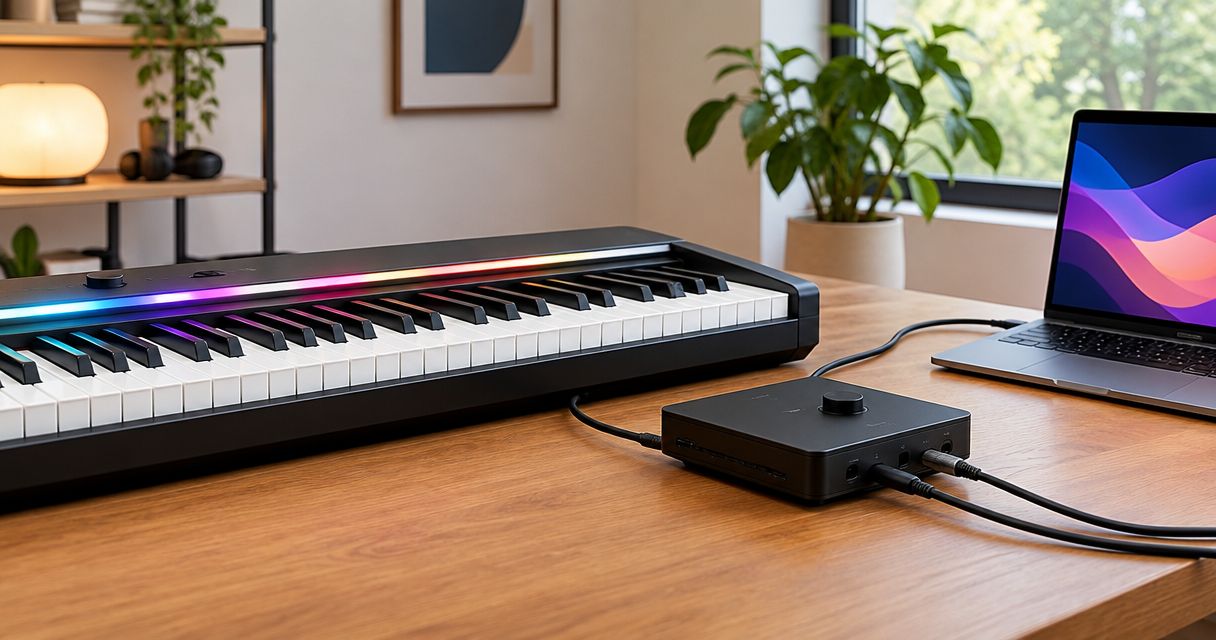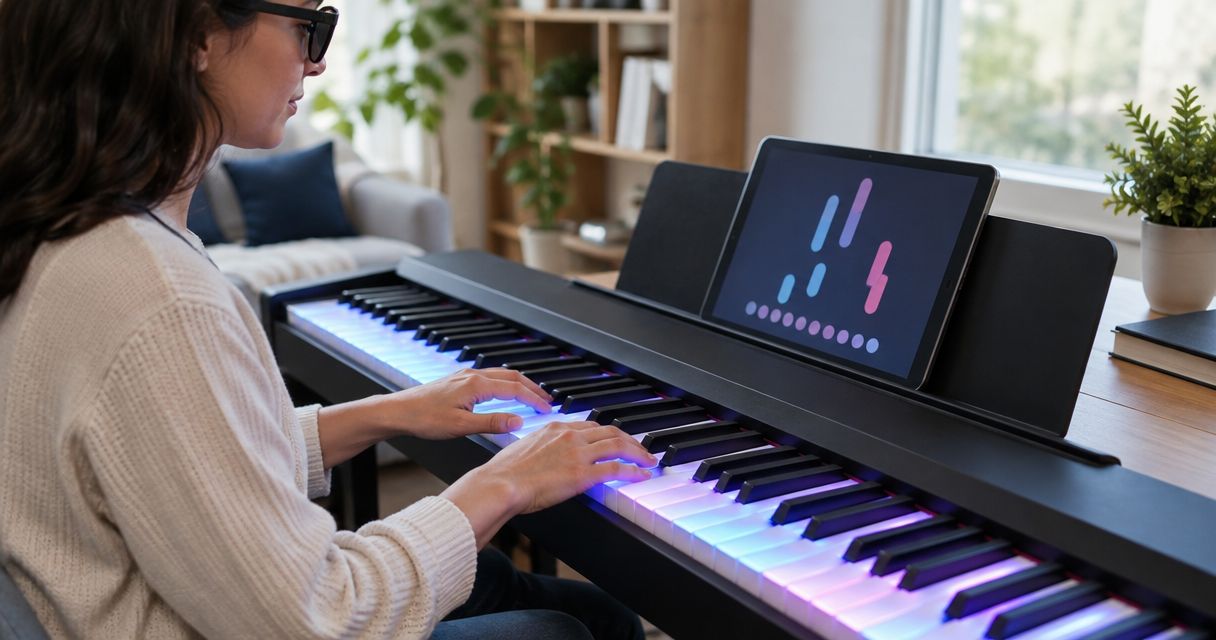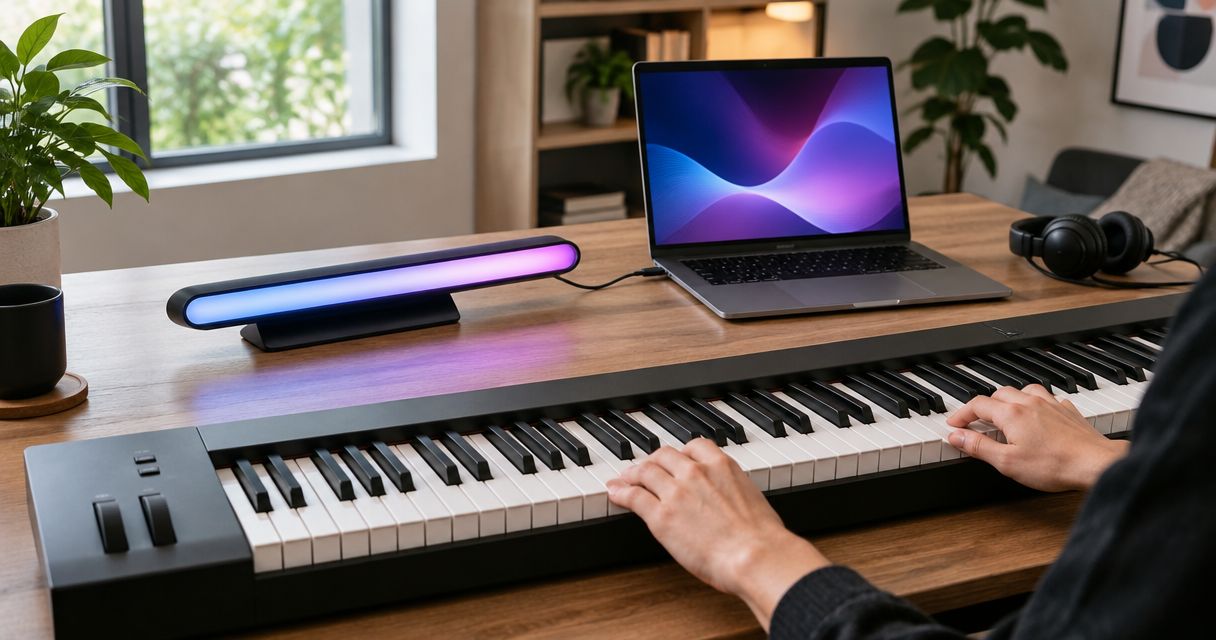
Instead of manually matching every app note to a piano key, connect Piano LED Plus to your 88-key MIDI keyboard through the connection route documented for both devices, then check that the light cues match the notes you play. An 88-key keyboard is not automatically compatible: MIDI connection type, USB host requirements and physical light alignment must all match.
- To connect Piano LED Plus to an 88 key MIDI keyboard, verify the documented connection route before attaching cables.
- Pianoledshop sells app-synced LED piano learning for hobbyists and beginners; keyboard compatibility still needs checking.
- USB MIDI needs a host; matching connector shapes alone does not establish compatibility.
- Test note alignment and sound separately before starting guided practice.
Why this matters
MIDI carries musical instructions, not the sound of a piano. A working MIDI connection can therefore exist without audible notes, while a keyboard can produce sound without sending usable MIDI to another device.
For a 2026 setup, treat the installation as three separate checks: the keyboard sends notes, the learning system receives them through a supported route, and the lights identify the correct physical keys. Troubleshooting becomes much simpler when you test those functions separately.
Pianoledshop's LED piano learning system is for hobbyists and beginners who want song guidance through app-synced lights. Start with Pianoledshop for the system itself, but use the instructions supplied with your exact hardware to establish its connection requirements.
Before you start
- Identify your keyboard and its MIDI connections. Have the exact model name and manual ready. Check whether its USB socket carries MIDI, whether it has a 5-pin MIDI output, and whether the manufacturer documents any required drivers or settings.
- Prepare the learning system and its documented app setup. Keep the Piano LED Plus instructions, required power equipment and supported app device beside the keyboard. Use the connection diagram for your version rather than instructions for a different revision.
- Check the USB host requirement before buying adapters. Two USB peripheral devices do not communicate merely because an adapter joins their sockets. Also confirm that the lighting hardware can be positioned as instructed on your keyboard without obstructing the keys.
Do not begin by assembling every cable you own. First establish a supported route from the keyboard's MIDI output to the learning system; connector adapters cannot create support for a protocol that a device does not understand.
Keyboard connection route
Identify the MIDI output
- Read the keyboard's model label and locate its connection diagram in the manual. A family name is not enough when different models have different ports.
- Inspect the rear or side panel. Look for labels such as USB TO HOST, USB TO DEVICE, MIDI OUT and MIDI IN, if present. Read the manual's description of each socket rather than choosing by appearance.
- Confirm which connection sends notes when you play. A USB socket intended for storage is not evidence of USB MIDI support.
- Match that output to a connection route explicitly supported by the Piano LED Plus instructions. Establish whether the route requires a host device or a MIDI interface before proceeding.
Expected result: you can identify the keyboard's note-output connection and describe the documented path to the learning system. If that path is not established, stop before connecting unfamiliar adapters.
Compare the connection types
This table describes general connection behavior, not a compatibility guarantee for a particular Piano LED Plus version.
| Connection type | Best for | Advantage | Limitation |
|---|---|---|---|
| USB MIDI | A setup with documented USB MIDI support and a suitable host | Carries MIDI through a USB connection | Requires the correct host role; matching plugs are insufficient |
| 5-pin DIN MIDI | A setup with a documented MIDI interface or matching MIDI ports | Separates MIDI input and output clearly | Requires correct direction and a supported receiving route |
| Audio output | Hearing the keyboard through suitable audio equipment | Carries the instrument's sound | Does not substitute for MIDI note messages |
A socket marked MIDI IN receives data; it is not the keyboard's outgoing note connection. Similarly, headphone and line outputs carry audio, so they cannot replace the MIDI route used to communicate played notes.
For your 2026 installation, write down the chosen route in plain language: keyboard output, any required interface or host, and receiving connection. That simple record prevents accidental changes when you reconnect the system later.
Physical installation and power
Position the light guidance
- Switch off the equipment before installing or moving hardware, following each device's instructions.
- Position the lighting hardware using the supplied mounting procedure. Align it to the keys as instructed; do not assume that equal key counts guarantee identical cabinet dimensions.
- Check the keyboard's entire playable range. Make sure the installation leaves the keys free to move and does not interfere with controls you need during practice.
- Route cables away from moving keys, pedal travel and places where a chair or foot can pull them. Leave enough slack to avoid tension at the sockets.
- Connect only the power equipment specified for each device. Do not infer electrical compatibility from the fact that a plug fits.
Expected result: the guidance hardware stays in its intended position, the keyboard remains playable, and no cable pulls against a connector.
Physical alignment and MIDI alignment are different. Correctly transmitted notes cannot fix lighting hardware positioned against the wrong keys; equally, a neatly installed light guide does not prove that MIDI is reaching the system.
Connect the documented signal path
- Connect the keyboard output to the receiving route shown in the applicable instructions. For a supported DIN route, trace the signal from the keyboard's MIDI OUT, not its MIDI IN.
- For a supported USB route, confirm which device acts as the USB host. Use a cable capable of carrying data rather than a power-only cable.
- Attach any required interface according to its own instructions. Treat an interface as part of the setup, not as an interchangeable connector.
- Power up the equipment in the sequence specified by its documentation. Open the supported app and complete its documented connection procedure.
Expected result: the app or system provides its documented indication of a connection. Power lights alone establish power, not successful MIDI communication.
Keep the initial setup simple. Connect only the equipment needed for this route, then add other accessories after the basic connection works; changing several devices at once makes faults harder to isolate.
App configuration and verification
Establish the note input
- Follow the app's documented procedure for connecting the learning hardware and keyboard. Use the labels displayed in your installed app version; do not substitute a similarly named device from another setup.
- If the documented workflow includes choosing a MIDI source, select the source corresponding to the connected keyboard or interface. Confirm its identity before starting playback.
- Check the keyboard for active transpose or octave-shift settings. Return them to their neutral position for the first test, using the keyboard manual's procedure.
- Play a single note and use the system's documented connection check to confirm reception. Then test notes in the lower, middle and upper parts of the keyboard.
Expected result: the intended input receives played notes across the keyboard, rather than responding only to app playback or to a different connected device.
A standard full-size piano keyboard has 88 keys. In standard MIDI numbering, middle C is note 60, although software differs in the octave name it displays for that note. Compare pitch and physical position rather than relying only on an on-screen octave label.
Verify light alignment and sound
- Start a guided passage using the app's documented playback procedure. Choose material you can inspect note by note rather than beginning with a dense arrangement.
- Check that each displayed cue identifies the intended physical key. Test widely separated notes so that a consistent offset is easy to spot.
- Play the indicated keys and confirm the system's documented response. Distinguish a cue showing where to play from feedback confirming what you played.
- Check the sound path separately. Use the keyboard's own sound output if it has one, or a suitable sound source for a MIDI controller that does not generate audio itself.
- Repeat the passage after checking alignment. Keep the connections unchanged while you verify the result.
Expected result: guided cues identify the correct keys, the system receives your playing through its supported workflow, and you can hear the intended instrument sound.
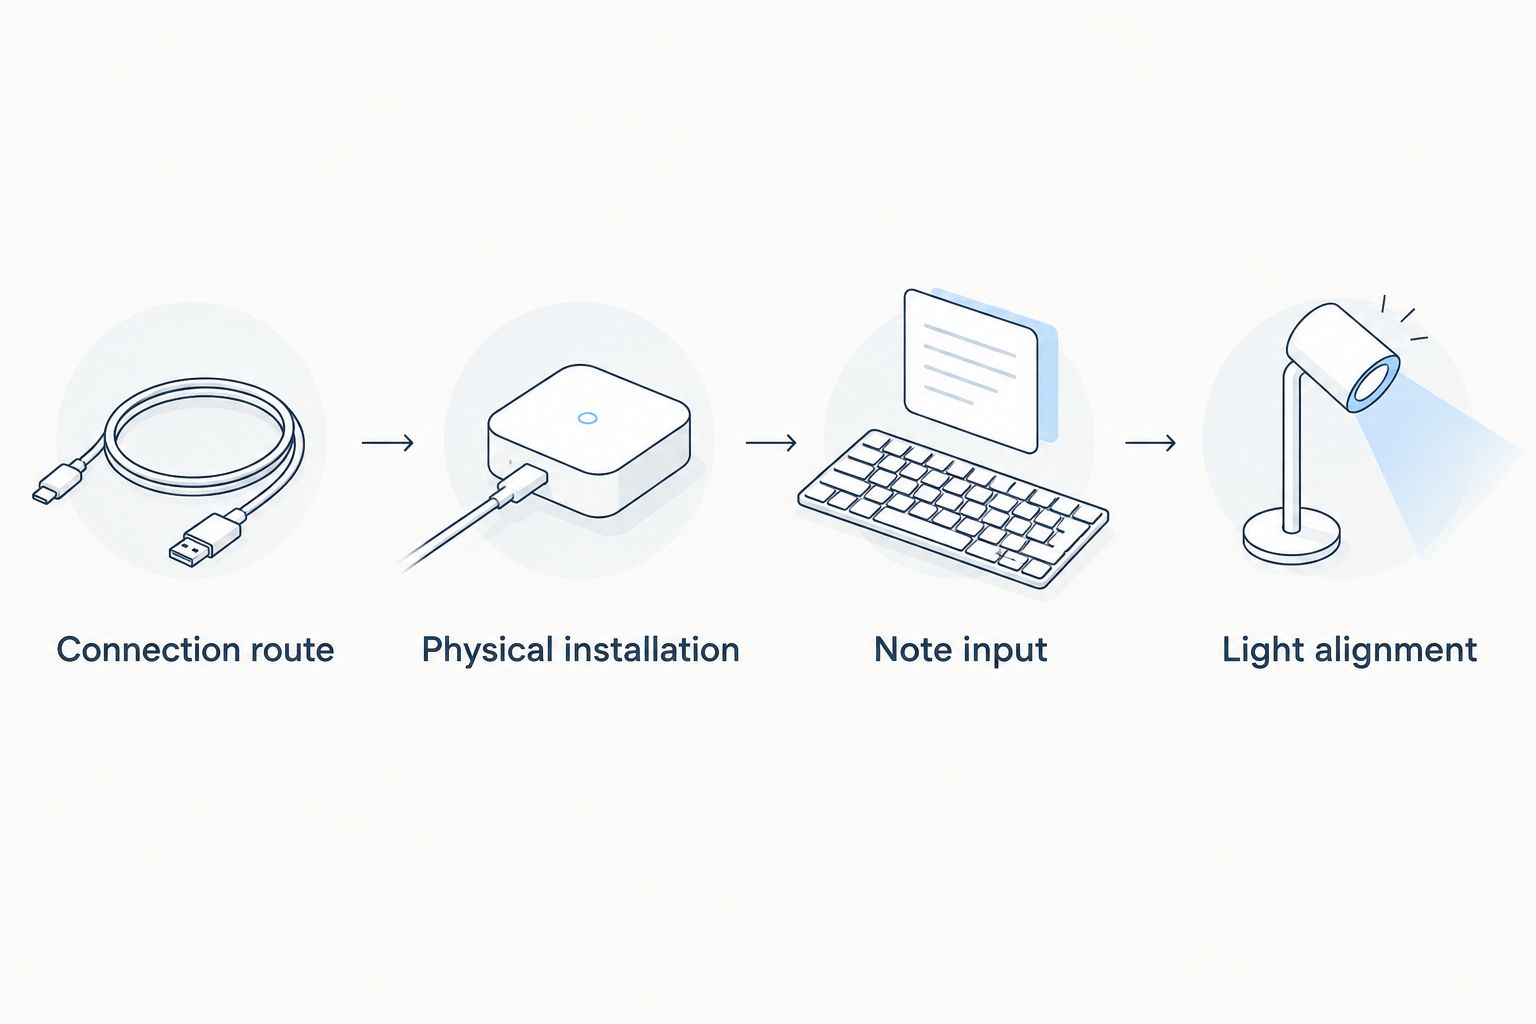
For a 2026 setup, a successful first test means correct notes and correct cues—not merely illuminated hardware. Record the working connection route and any settings you changed so that the next session starts from the same configuration.
Reconnect after changing keyboards
Moving the learning system to another 88-key keyboard is a separate workflow. The key count can stay the same while the MIDI ports, host requirements and physical installation change.
- Disconnect and move the hardware according to its instructions. Do not pull cables to release equipment or leave connectors under tension.
- Check the replacement keyboard's exact model and documented MIDI output. Reuse a cable or interface only when the new route supports it.
- Reposition the lighting hardware using the installation procedure. Check the physical alignment again instead of assuming the previous placement transfers unchanged.
- Reconnect through the documented app workflow. Repeat the lower-, middle- and upper-register note checks before using a song.
Expected result: the replacement keyboard passes the same connection, alignment and sound checks as the original. A connection that worked on one instrument does not establish compatibility with every other model.
Keep a separate setup note for each keyboard you use in 2026. Include the model, connection route and any required keyboard settings; that record is more useful than remembering the cable's color.
Troubleshooting
The system has power but does not receive notes
Check the data route first. Confirm that the keyboard port transmits MIDI, that a USB cable carries data, and that the required host or interface is present. Power can reach equipment even when no usable MIDI connection exists.
For a DIN route, check direction: keyboard MIDI OUT must feed the documented receiving path. Change one connection at a time and repeat the single-note test.
The keyboard sounds, but the guided workflow does not respond
Sound from the keyboard's speakers proves that its local audio path works; it does not prove that MIDI reaches the learning system. Recheck the selected input where the documented app workflow provides one, then confirm the keyboard's MIDI transmission settings in its manual.
The MIDI connection works, but you hear nothing
Inspect the sound path independently. A MIDI controller needs a sound-generating device or software instrument, while a digital piano's audible output depends on its own audio settings and connections. MIDI messages themselves are not audio.
The cues identify the wrong keys
Separate a physical offset from a pitch offset. Recheck installation alignment, then inspect transpose and octave-shift settings; use the documented calibration procedure if your system provides one. Do not move hardware to compensate for a transposed note stream.
The connection drops when you move the keyboard
Inspect cable tension, loose plugs and intermediate adapters. Reconnect with the equipment powered down where its instructions require that, support the cables, and repeat the note test before replacing multiple components. A movement-related failure calls for a physical connection check first.
Customize your workflow
Once the connection passes verification, build practice around a passage you can follow accurately. Use the app's documented practice controls rather than assuming that every learning system offers the same looping, tempo or feedback features.
For your 2026 practice plan, choose an accessible starting piece from beginner piano songs to learn with LED lights. Pianoledshop's LED piano learning approach provides app-synced visual guidance; that guidance does not replace listening to timing, phrasing and the notes you actually play.
Keep the benefits and limits separate. Lights identify where to play, but a working installation still needs correct alignment, a supported connection and an audible instrument path.
FAQ
Can I connect Piano LED Plus to any 88-key MIDI keyboard?
Do not assume universal compatibility from the 88-key count. Confirm the exact keyboard's MIDI output, the connection route supported by your Piano LED Plus version and the physical installation requirements.
Can I connect Piano LED Plus using a headphone cable?
A headphone cable does not replace a MIDI connection. Headphone outputs carry audio, while MIDI communicates musical instructions such as which note you played.
Does a USB adapter make two MIDI devices compatible?
A USB adapter alone does not establish compatibility. USB MIDI requires an appropriate host, supported devices and a data-capable connection.
Which MIDI port sends notes from my keyboard?
A port labelled MIDI OUT sends MIDI data from the keyboard. MIDI IN receives data; for USB connections, consult the exact model's manual to identify MIDI support and host requirements.
Why do the lights work but I cannot hear a piano?
Light guidance and piano sound use different functions. Check the instrument's audio output separately; a MIDI controller needs a sound source because MIDI messages do not contain audio.
Why are the light cues pointing to the wrong keys?
Check physical light alignment and the keyboard's transpose or octave-shift settings separately. Follow the documented calibration procedure if your system provides one, rather than moving hardware to hide a pitch offset.
Do I need to repeat setup after changing keyboards?
Yes, verify the connection and alignment again after changing keyboards. Different 88-key models can have different MIDI ports, host requirements and physical layouts.
One last thing
A silent keyboard can send correct MIDI, and a sounding keyboard can send no MIDI at all. That distinction is the fastest way to avoid troubleshooting the wrong part of the installation.
Before your next session, preserve the configuration that passed all the checks. A short note covering the keyboard model, signal route and changed settings makes reconnecting easier without relying on memory. With Pianoledshop's system installed, judge readiness by correct guidance and playable sound—not by whether the hardware lights up.