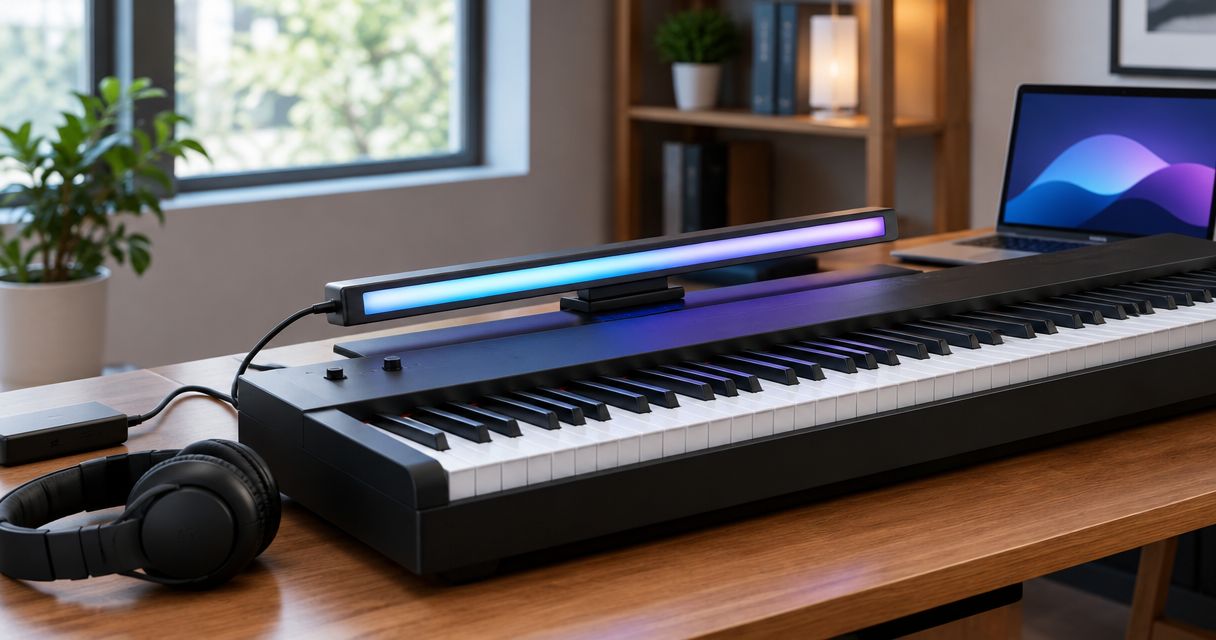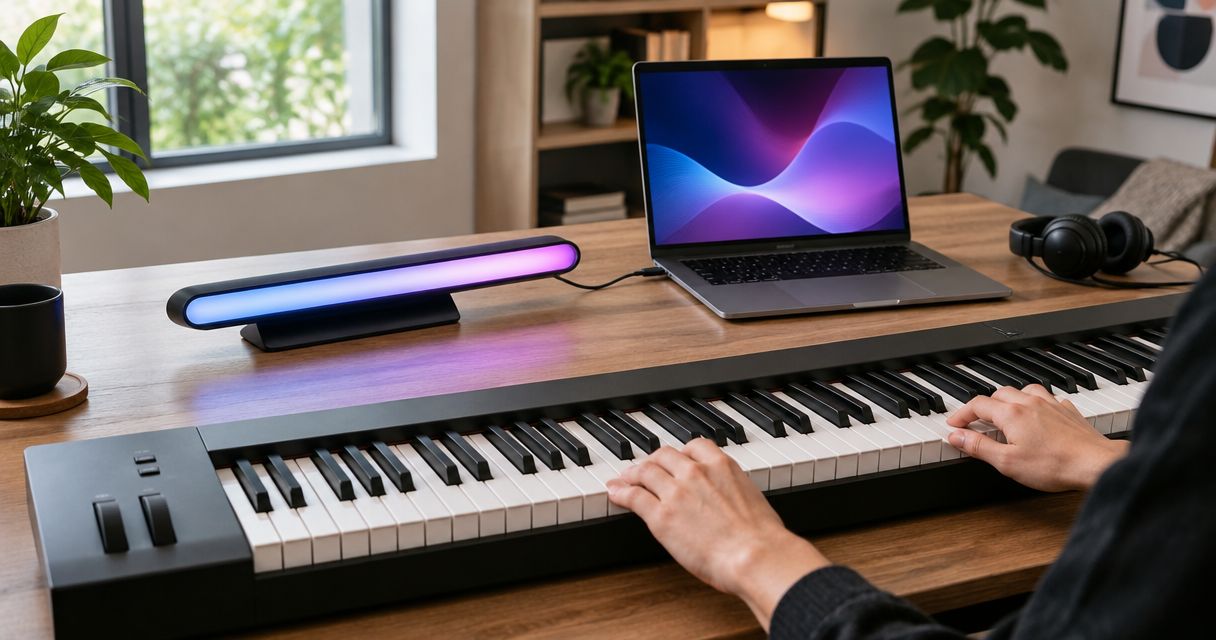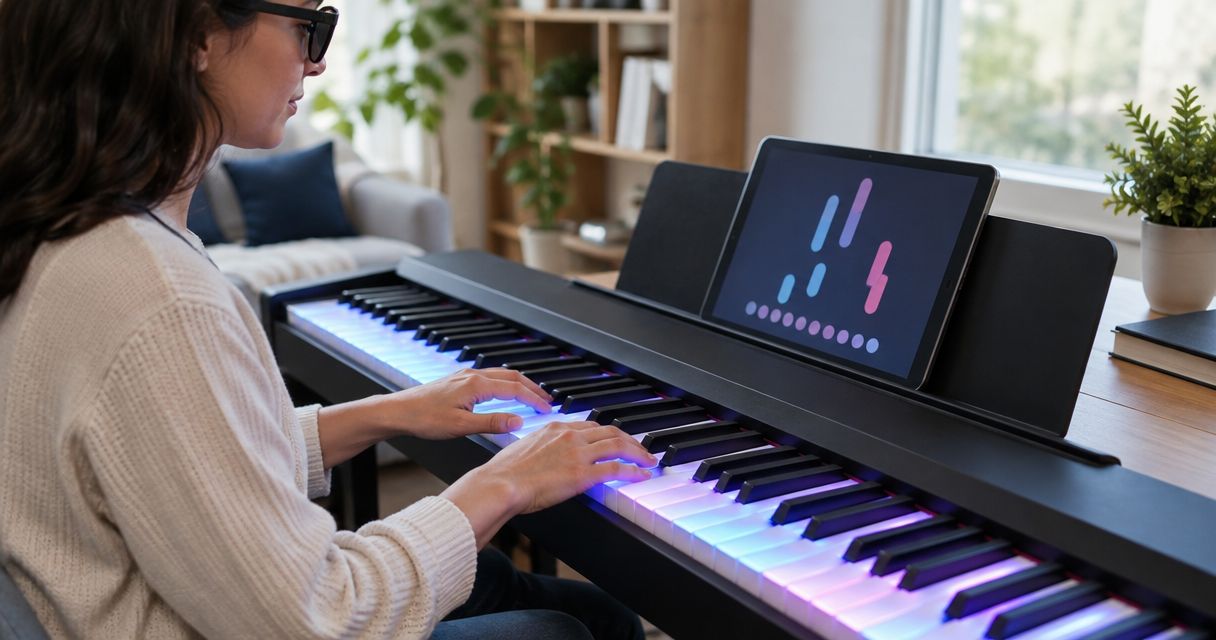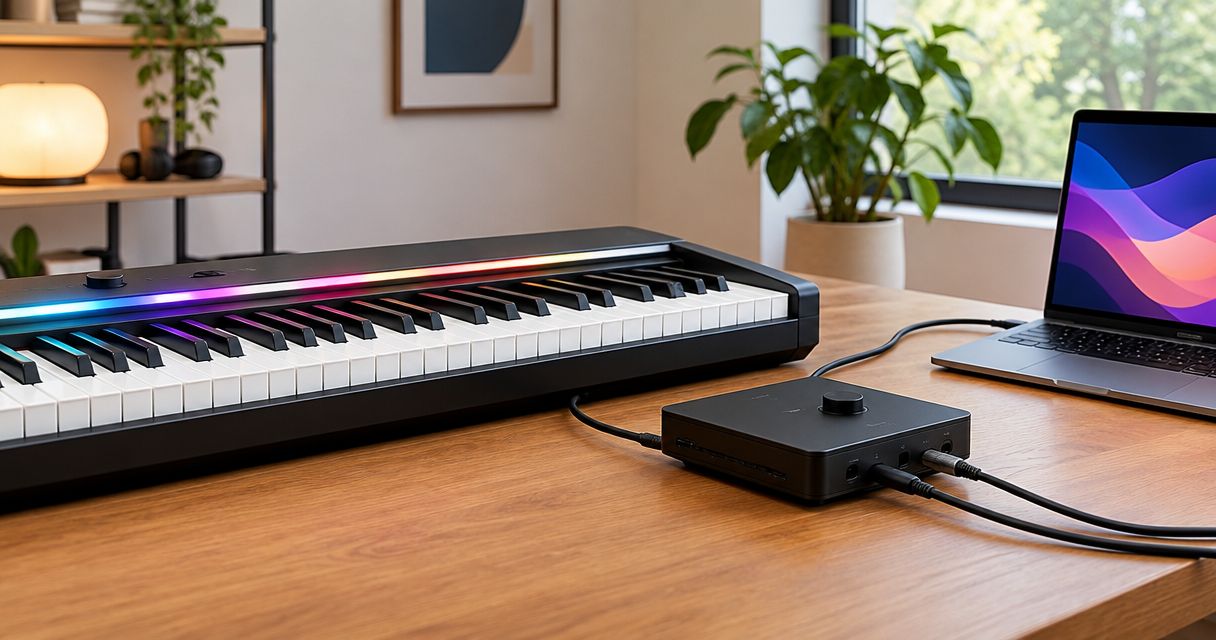
Instead of manually matching every song note to a key, connect Piano LED Plus to your Donner DEP-1S using the connection method specified for both devices, then check that the app, lights, and keys agree. Start with connection compatibility—not a cable that merely fits—and verify the setup before practising a full song.
- To connect Piano LED Plus to Donner DEP-1S, verify the documented connection method before choosing cables.
- Pianoledshop’s LED-guided learning system suits beginners who want song notes shown as lights.
- Test keyboard sound, app playback, and light alignment separately before combining them.
- A connector that fits does not prove MIDI compatibility or correct note mapping.
Why this matters
An LED-guided piano setup has separate jobs: the keyboard produces your playing sound, the app supplies the learning material, and the lights show which keys to follow. A fault in one job does not prove that the others are broken. Keeping those jobs separate makes setup and troubleshooting clearer.
Pianoledshop’s LED-guided learning system is best for hobbyists and beginners who want to follow song notes as lights. The benefit is a visible cue at the keyboard; the limitation is that following a light does not, by itself, teach notation, fingering, or musical phrasing. Use the lights as a practice aid, not your only measure of progress.
The Pianoledshop range includes a Donner DEP-1S bundle and a separate Piano LED Plus system. For your 2026 setup, identify the equipment you actually have before following instructions intended for another Donner model.
Before you start
- Gather the hardware and instructions. Have your Donner DEP-1S, Piano LED Plus, their supplied power accessories, the learning app, and the installation instructions for your exact equipment ready. Keep the keyboard’s connection diagram beside you.
- Prepare the app device. Use a phone or tablet supported by the app’s current instructions. Have access to any account, permissions, or network connection those instructions require; do not assume another piano app uses the same setup.
- Check the connection’s purpose. USB power, MIDI note data, and audio are different functions. Confirm which ports and cables the documented setup requires before inserting anything; matching connector shapes alone is not enough.
Do not attach the light system permanently while you are still checking alignment. Follow its mounting instructions, keep the keys unobstructed, and leave enough access to inspect connections without pulling on cables.
Keyboard and connection identification
Confirm the equipment
- Read the model identification on the keyboard itself. Confirm Donner DEP-1S, rather than relying on a retailer’s photograph or a similar-looking instrument.
- Identify the Piano LED Plus equipment you received. Match it to its supplied installation instructions, including any controller and connection accessories shown there.
- Separate the keyboard’s power connection from its signal connections. Use the keyboard documentation to identify what each socket does.
- Read the connection requirements in both sets of instructions. Confirm the supported route between the keyboard, learning system, and app device before selecting a cable or adapter.
Expected result: you can identify each device and explain the purpose of every connection you intend to make. If a socket’s function is unclear, stop at identification rather than testing random combinations.
Choose the documented route
Follow the route described for your equipment, whether it involves a direct connection, an intermediary device, or a wireless connection. Do not substitute a headphone socket for a note-data connection: audio carries sound, while MIDI carries performance messages such as note-on and note-off events.
USB also needs the correct device roles. A connection between two devices does not become a working MIDI route simply because an adapter joins their sockets. Where the instructions require a host device, include that host rather than treating an adapter as a replacement.
For a 2026 installation, follow the instructions associated with your installed app and hardware. Use older screenshots only when their controls match your actual interface; do not select a setting solely because a different guide uses that name.
Hardware placement and power
Prepare the keyboard
- Place the Donner DEP-1S on a stable support. Leave access to its connections and enough clearance for your hands to move normally.
- With the keyboard switched off, connect its specified power supply according to the keyboard instructions. Keep power leads away from moving pedals and walking routes.
- Position the light system according to its mounting instructions. Check that it does not press keys, restrict key travel, or obscure controls you need.
- Connect the signal and power accessories required by the documented installation. Follow any stated connection order; do not force a plug or bend a socket to make it fit.
- Switch on the equipment in the order its instructions specify. Test the keyboard’s own sound before launching a song in the app.
Expected result: the keyboard plays normally, the light system is positioned without obstructing the keys, and every cable has a clear purpose. Powering on successfully is only a power check—not proof that note data or song guidance is working.
A tidy cable route helps preserve this baseline. Leave slack where a device needs to move, but keep loose leads away from your feet. If repositioning your tablet pulls a connector sideways, change the placement before continuing.
App connection and note checks
Establish the app connection
- Open the learning app specified for Piano LED Plus. Follow its current instructions for connecting the learning system and any required keyboard connection.
- Grant the permissions the app’s instructions require for that connection method. Do not change unrelated phone settings in an attempt to fix a specific connection problem.
- Select the device identified in the app’s connection instructions. If several devices appear, match the intended device rather than choosing the first entry.
- Complete any documented keyboard-range or alignment setup. Use the labels shown in your installed app; another version’s menu names are not a substitute.
- Open a simple song or exercise and start its guidance. Watch the lights first, then compare their positions with the intended keys.
Expected result: the app controls the intended light system, and you can identify the keys indicated by the selected exercise. If the documented workflow includes keyboard input, verify that input separately rather than assuming light playback proves it works.
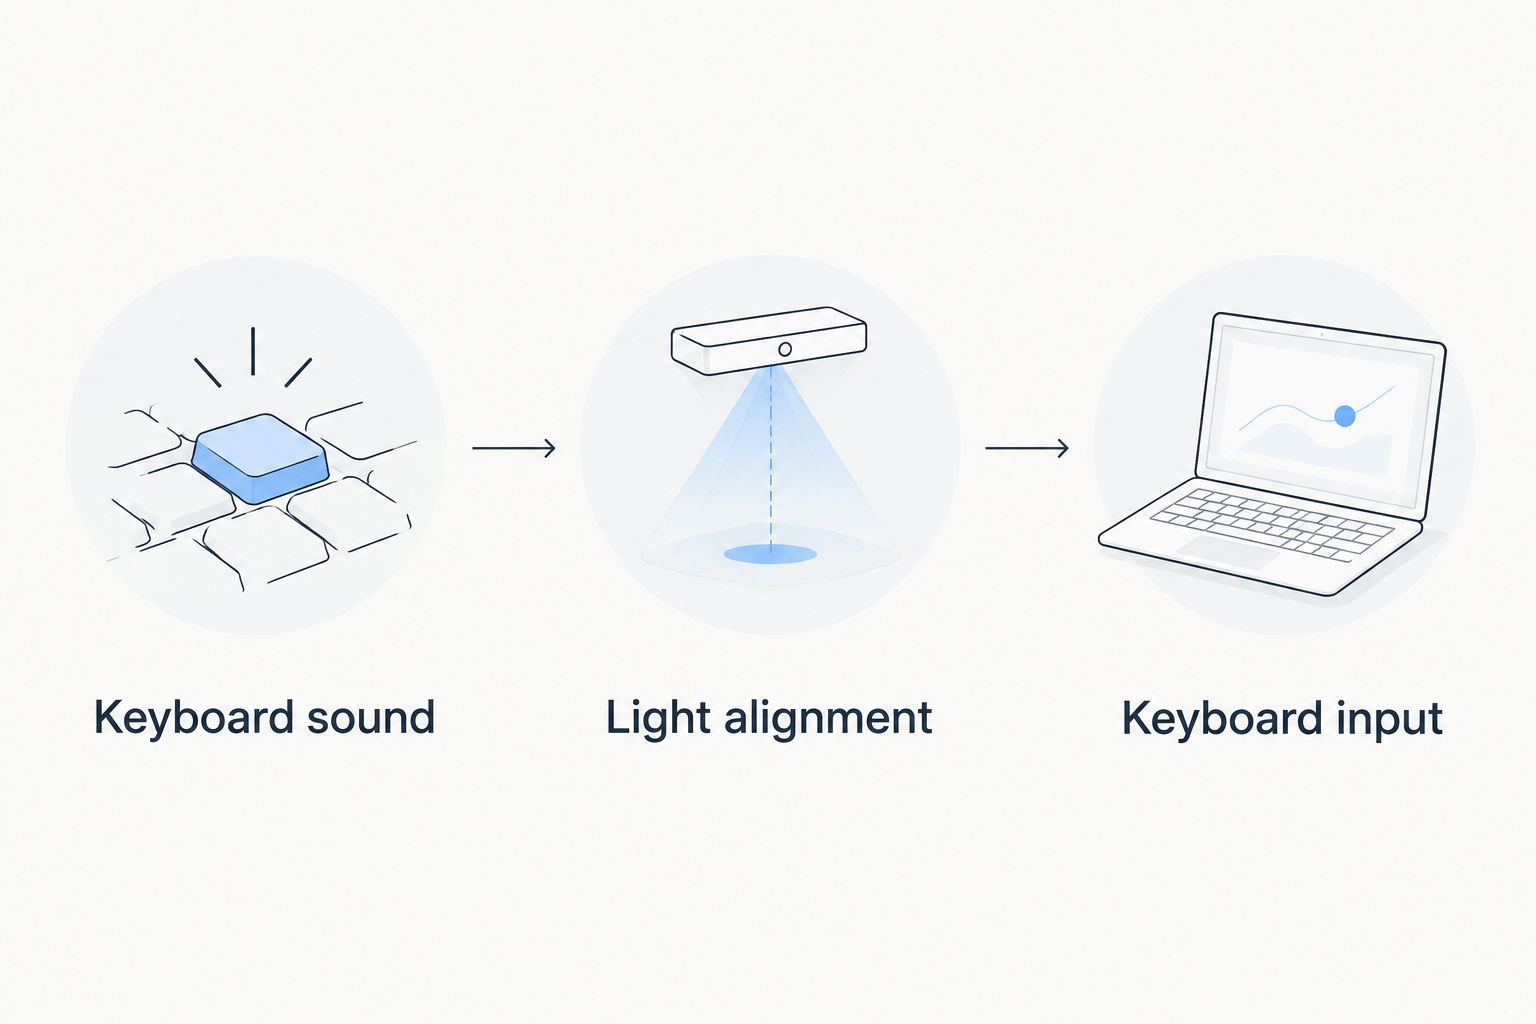
Check three separate functions
Use 3 individual notes as a short diagnostic exercise: one lower note, one near the middle, and one higher note within the selected material’s range. This is a suggested test, not a calibration requirement or a claim about the system’s specifications.
- Keyboard sound: play each selected key with app playback stopped. Confirm that the keyboard responds normally.
- Light alignment: start the relevant guidance and compare each illuminated position with the note it represents. Stop before adjusting the light system.
- Keyboard input: if the documented workflow uses your playing as app input, test whether each note reaches that input. Light playback alone does not establish this.
Treat an incorrect key position differently from an absent connection. If the lights run but indicate the wrong keys, inspect placement and documented mapping settings. If no guidance reaches the lights, return to the app connection and power checks.
First-song verification
Test a short passage
- Choose a short passage with clearly separated notes. Avoid using a dense chord passage as your first connection test.
- Run the passage once while watching the lights without playing. Confirm that you understand where each cue points.
- Run it again and play along. Keep the keyboard’s sound audible enough to compare your playing with the intended notes.
- Stop playback and release all keys. Confirm that you can return to ordinary keyboard playing without a stuck note or an obstructed key.
- Repeat the passage after restarting the app normally. Check that the documented connection can be restored without improvising a different cable arrangement.
Expected result: you can start guidance, follow the intended keys, stop cleanly, and reconnect through the normal procedure. Make 2 passes through the passage—one observation pass and one playing pass—before choosing a harder song.
Reserve 5 minutes for this verification exercise before your first practice session. That is a practice recommendation, not a promised installation time. A careful 2026 setup should leave you with a repeatable routine, not just one successful playback.
Reconnect after moving the keyboard
Moving the Donner DEP-1S or changing your app device creates an adjacent workflow: restore a previously working setup instead of configuring everything again. Keep the original connection arrangement as your reference.
- Inspect power and signal connections before switching on. Check for a plug loosened during the move.
- Check the light system’s position against the keys. Do not assume its alignment survived transport unchanged.
- Restore the app connection using the documented procedure. If you changed phones or tablets, complete the required setup on the new device.
- Repeat the short note checks before opening your usual song.
Expected result: the same notes, lights, and keyboard responses match your earlier baseline. After a move in 2026, verify alignment before changing app settings; physical displacement and software mapping are different problems.
Which equipment route fits your situation?
Pianoledshop lists both a separate light-guided learning system and a bundle named for the Donner DEP-1S. Choose according to whether you already have the keyboard—not because a bundle name answers every installation question.
| Option | Best for | Advantage | Limitation |
|---|---|---|---|
| Piano LED Plus 2026 | Existing keyboard owners assessing a light-guided learning system | Lets you consider the learning system separately | You still need to verify the documented connection and fit for your keyboard |
| Donner DEP-1S + Piano LED Plus 2026® | Beginners considering the named keyboard-and-learning-system bundle | Groups the Donner DEP-1S and Piano LED Plus in one listed bundle | The bundle title does not replace installation instructions or explain every connection detail |
For an existing Donner DEP-1S, confirm the installation requirements before adding equipment. For a new setup, review the named bundle’s contents and instructions rather than assuming accessories from another Donner bundle are included.


Troubleshooting
The keyboard plays, but the lights do not respond
Check the light system’s power and app connection separately from the keyboard’s sound. A working keyboard speaker does not prove that the app has connected to the learning system. Reopen the documented connection procedure and confirm the selected device.
A USB connection powers something but carries no notes
Check the documented functions of the ports and the required host arrangement. Use the specified data-capable connection rather than assuming power delivery proves MIDI communication. Replace or change components only after identifying which part of the documented route is failing.
The lights indicate the wrong keys
Stop playback and inspect physical alignment first. Then review any range or mapping procedure specified in the learning system’s instructions. Do not compensate by deliberately playing a neighbouring key; that hides the mismatch instead of correcting it.
The connection stopped after switching apps or devices
Return to the intended app and restore its documented device connection. Check whether another MIDI app is using the same device connection, and close unrelated apps during the test. Recheck required permissions on a replacement phone or tablet.
A note keeps sounding after you release the key
Stop playback, release the sustain pedal, and check whether the keyboard behaves normally on its own. If the problem occurs only through the connected workflow, disconnect and reconnect according to the instructions. MIDI note-off messages end notes; interrupting their route can leave a receiving instrument sounding a note.
Customize your workflow
Once the connection passes the short test, change the practice material rather than the wiring. Choose a manageable passage, work on accurate key positions, then repeat it while paying attention to rhythm and fingering.
Use a brief no-guidance replay as a learning check. If you can only play while watching the lights, return to a smaller passage and connect the visual cue with the key’s note name. In your 2026 practice routine, keep connection checks separate from musical goals so every difficult passage does not become a hardware investigation.
FAQ
How do I connect Piano LED Plus to a Donner DEP-1S?
Use the connection method documented for your Donner DEP-1S and Piano LED Plus equipment, then complete the app’s connection procedure. Verify keyboard sound, light alignment, and any required keyboard input separately before practising a song.
Which cable do I need for this setup?
Use the cable specified by the installation instructions for the connection route you are using. Connector shape alone does not establish data support, MIDI compatibility, or the correct USB device roles.
Can I connect through the Donner DEP-1S headphone socket?
A headphone socket carries audio, not MIDI note messages. Do not use it as a substitute for a documented note-data connection.
Do working lights mean the keyboard is connected correctly?
No: working lights prove that light guidance is running, not that keyboard input reaches the app. Test keyboard input separately if the documented learning workflow requires it.
Why do the lights point to the wrong keys?
Check physical placement and the documented note-mapping procedure first. Stop playback before making adjustments, then test separated notes across the selected passage’s range.
Should I choose the separate system or the Donner DEP-1S bundle?
Consider the separate system if you already own the keyboard, and the named bundle if you are assessing a keyboard-and-learning-system purchase. Confirm installation requirements and bundle contents before deciding.
Can LED guidance replace learning to read music?
LED guidance shows which keys to follow, but it does not by itself teach notation. Combine light-guided practice with note names, rhythm work, and short passages played without visual cues.
One last thing
Save a photo of your working cable arrangement, then replay the test passage without watching the lights. The photo gives you a reference after moving equipment; the replay tells you what you learned rather than merely what connected. Both are more useful than repeatedly changing settings once the setup works.