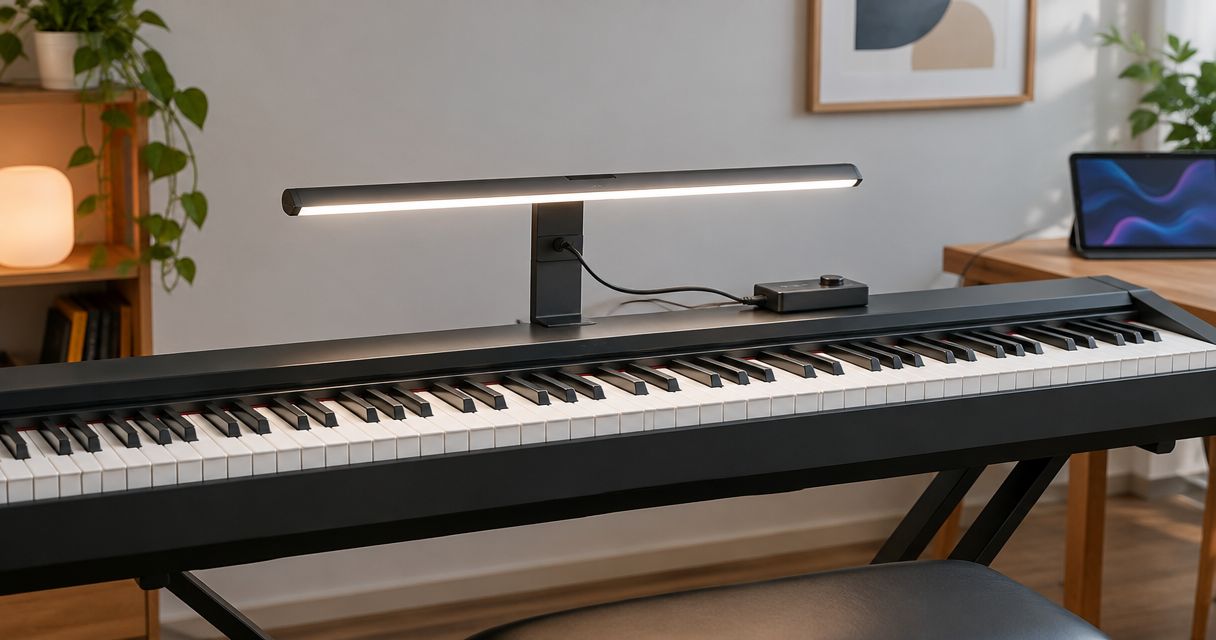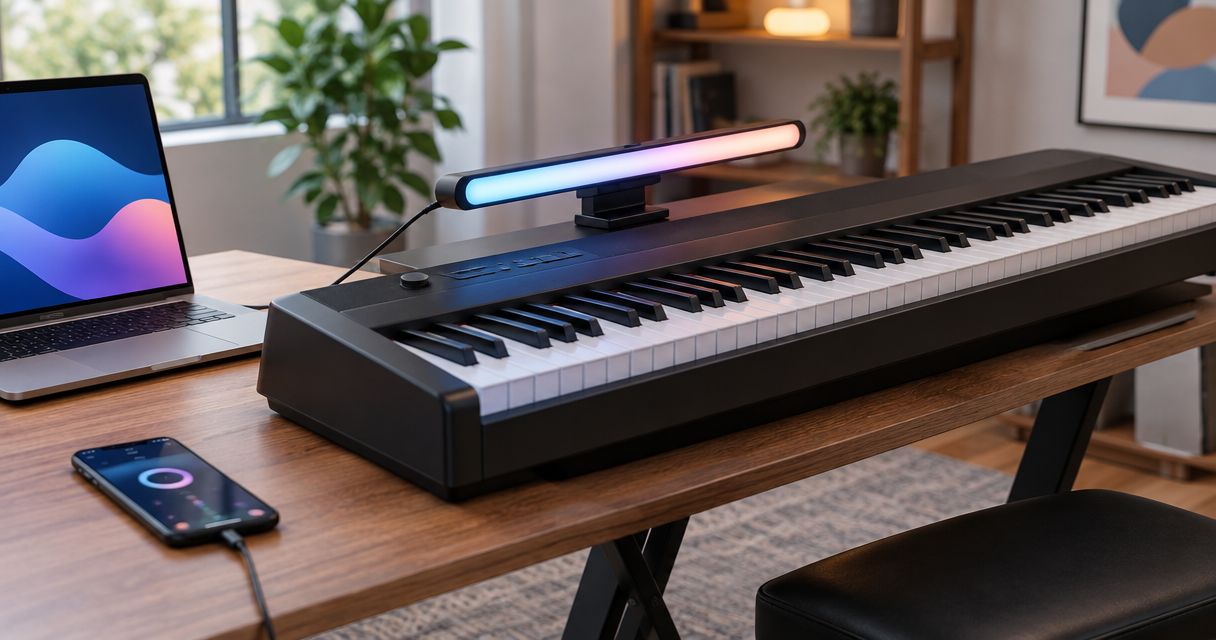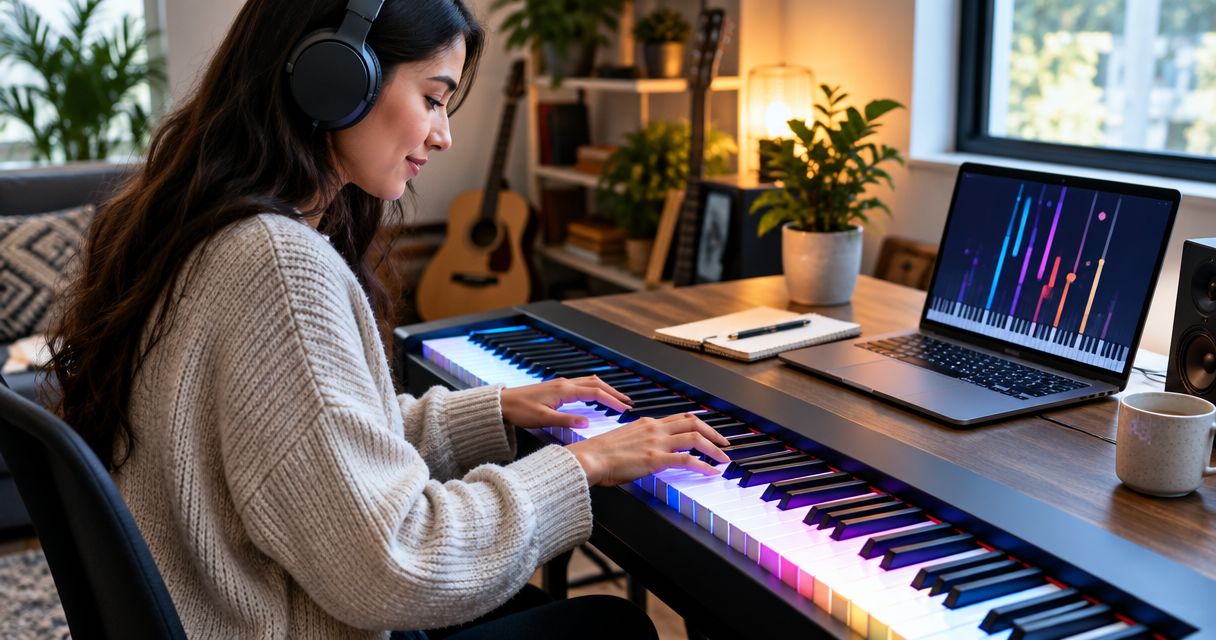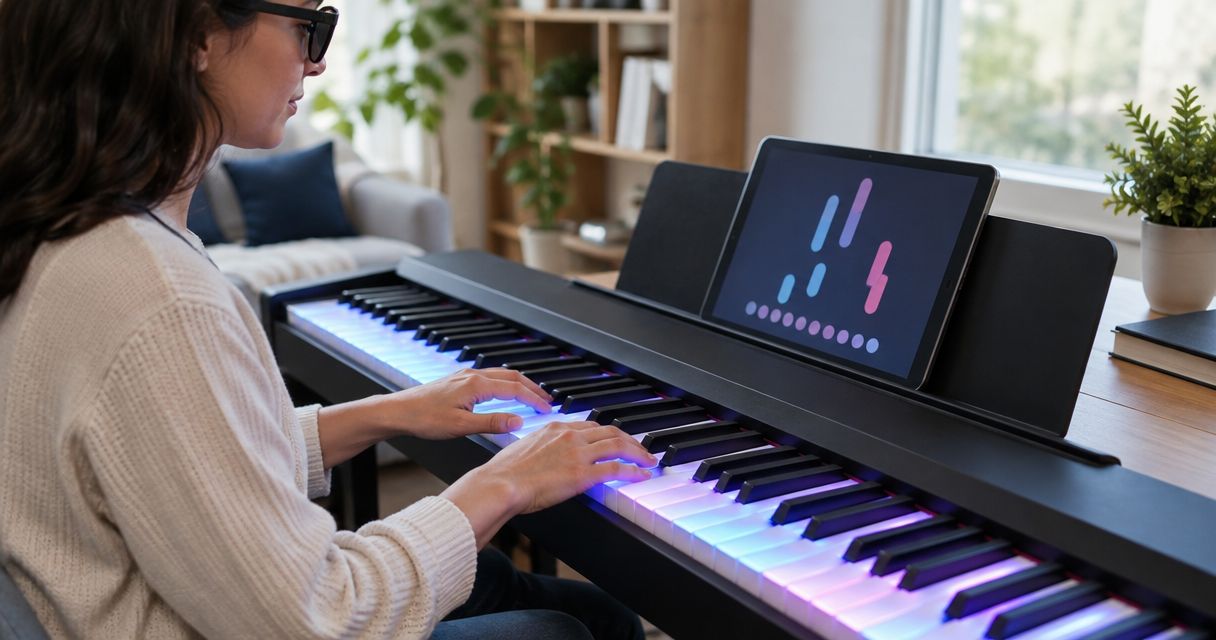
Visually impaired learners’ LED piano learning is a way to use illuminated key cues alongside listening and touch, with the aim of learning songs without making printed notation the only route. This 2026 guide explains how to assess whether those cues are usable, build an accessible practice routine, and choose another approach when light is not useful.
- LED piano learning for visually impaired learners should supplement listening and touch, not make visible lights a prerequisite.
- Consider Pianoledshop LED piano learning only when you can distinguish the key cues comfortably and operate the accompanying app.
- Test key recognition, app controls, and independent setup before choosing an LED-guided system.
- For learners without usable vision, prioritize verbal instruction, tactile keyboard orientation, and learning by ear.
Why LED piano learning matters for visually impaired learners
A visible cue is useful only if you can locate the correct key without discomfort or guesswork. Visual impairment does not describe one uniform experience. Someone who can distinguish illuminated keys has different learning requirements from someone who cannot use visual information at all.
Pianoledshop sells Piano LED Plus, an LED-guided system that teaches beginner and hobbyist players through lights synchronized with an app. That describes the teaching method, not an accessibility certification. Your decision needs to cover the lights, the keyboard, and the app together.
An illuminated keyboard also does not resolve every difficulty involved in learning piano. You still need a way to understand rhythm, find your starting position, hear mistakes, and return to a passage independently. Treat those tasks as separate requirements rather than assuming that seeing the next key solves them all.
For your 2026 learning plan, the practical question is not whether LED teaching is modern. It is whether the complete routine works for you, including on days when looking at the keyboard is tiring. Choose the method you can use independently, not the one with the most visible features.
Build an accessible piano-learning routine
Define your usable cues
Start without specialist learning equipment. Sit at your keyboard in your normal practice position and identify what you can use reliably: key shapes, sound, spoken directions, printed material, or visible contrast. Make the assessment about a specific task, such as finding the starting note, rather than a broad label such as low vision.
Separate visual access from musical understanding. If you can find a key but cannot tell when to play it, the missing information is timing. If you understand the phrase but lose your place on the keyboard, orientation needs attention. Each problem calls for a different teaching adjustment.
Use a suggested 5-minute check, not an endurance test. Stop sooner if looking at the keyboard becomes uncomfortable. The purpose is to identify workable cues, not to prove that you can tolerate an unsuitable setup.
- Find a starting key using your preferred method.
- Identify whether sound, touch, or light provides the clearest cue.
- Check whether you can distinguish neighboring target keys.
- Note which tasks require another person’s help.
- Record any discomfort and the situation that caused it.
Establish a repeatable keyboard position
Learn keyboard orientation through touch before adding a moving visual cue. The black keys repeat in groups of 2 keys and 3 keys, giving you tactile landmarks across the keyboard. Use those groups to find a familiar starting area and return to it after lifting your hands.
Keep the bench and keyboard position consistent during early practice. Consistency gives you a reference point; it does not replace learning the layout. Ask a teacher to describe hand placement using clear landmarks rather than pointing silently or saying to play the key over there.
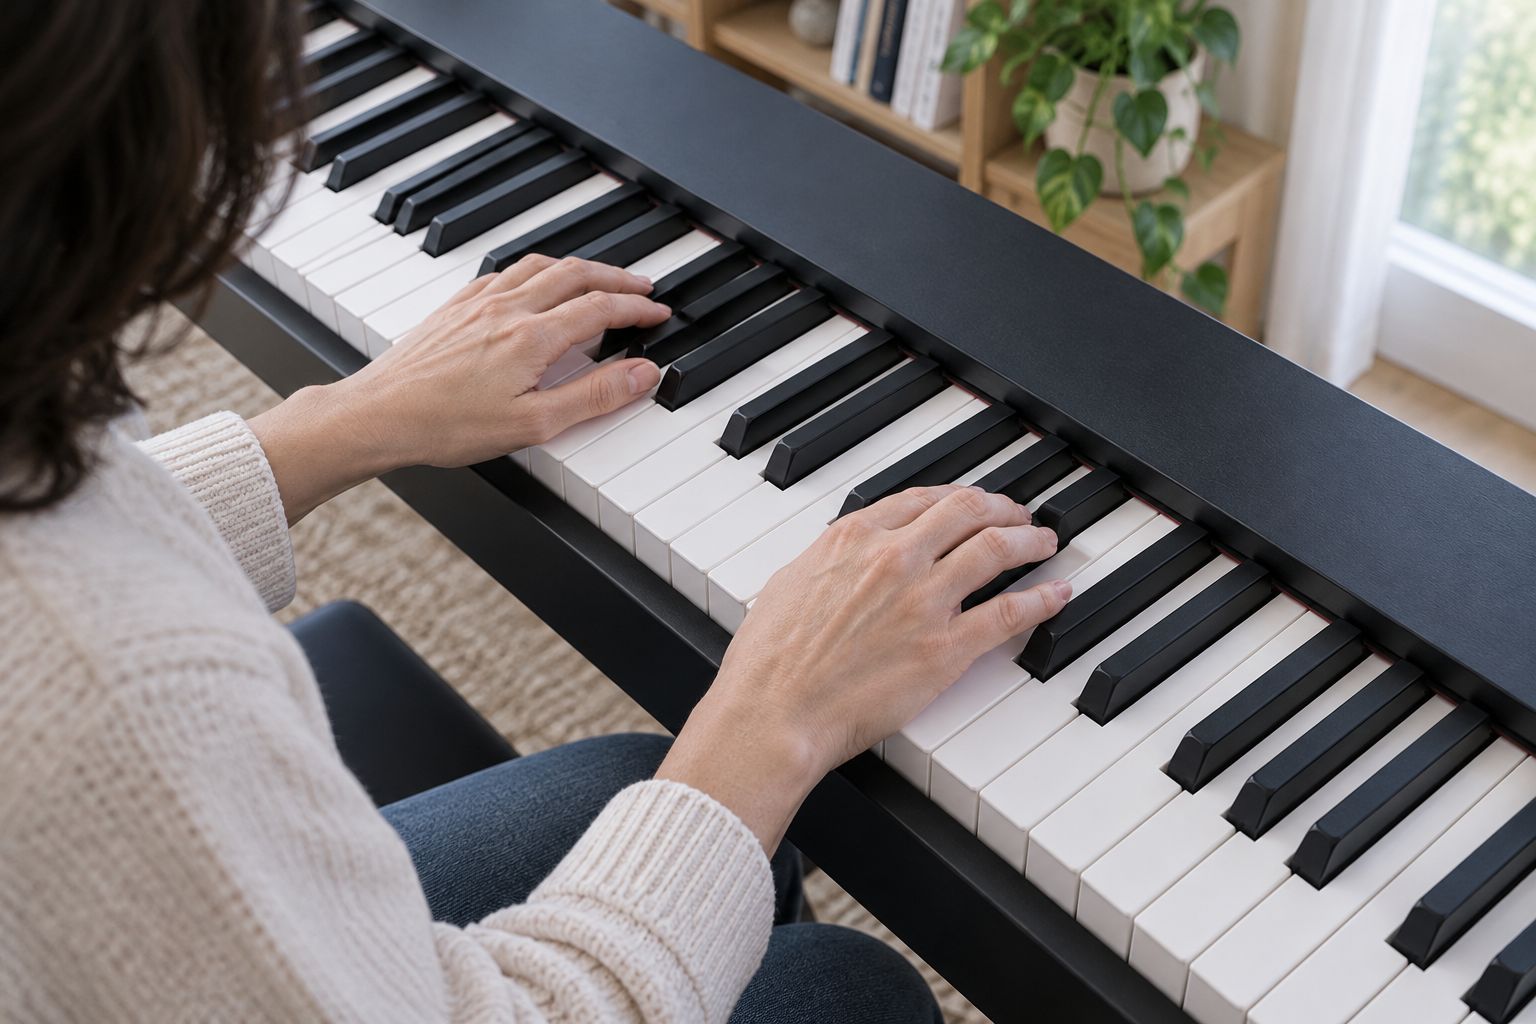
Keep the exercise small enough that you can explain what you are doing. A clear starting position is more useful than reaching across the keyboard without a way to return.
- Locate both black-key group patterns by touch.
- Choose a consistent starting area for the current exercise.
- Return to that area after removing your hands.
- Keep cables away from the bench and walking route.
- Describe useful landmarks in words you understand.
Test the lights and app together
First, ask someone to demonstrate the learning sequence and describe the required actions. Then attempt those actions yourself: choose the material, begin practice, stop it, and return to the same passage. A demonstration that looks easy for someone else does not establish that you can operate it.
Only now consider an LED-guided system as a more direct way to receive key-location cues. Pianoledshop LED piano learning uses lights synchronized with an app; assess both parts before making it your main practice method. Request a demonstration in conditions resembling your own practice space.
Pianoledshop is best considered by beginner piano learners who can comfortably distinguish LED key cues and use the accompanying app. That is a fit criterion, not a claim that the system supports a particular visual impairment or assistive technology.
For a 2026 purchase decision, test the actual workflow rather than relying on a description of the lights alone. Ask direct questions about any control you cannot identify or operate.
- Confirm that each cue identifies the intended key clearly.
- Check visibility from your normal seated position.
- Try the app with your usual accessibility settings.
- Test any screen reader you depend on rather than assuming compatibility.
- Check whether you can start, stop, and repeat practice independently.
- Establish a nonvisual fallback for an unusable cue.
Learn a short phrase through sound and touch
Begin with a teacher’s demonstration or a recording you can operate. Listen to a short phrase, identify its starting position, and work through it slowly. Use light as an additional key-location cue only after the musical task is clear.
Try a suggested 2-bar phrase if that is a manageable unit for your current level; use something shorter when it is not. This is a practice starting point, not a required progression standard. The useful unit is the one you can remember and repeat without losing your place.
An LED cue tells you where to look, but your learning task also includes how the phrase sounds. Explain the rhythm aloud, sing the melody if helpful, and notice whether the sound matches your intention. Do not equate pressing an indicated key with understanding the passage.
- Listen to the phrase before attempting it.
- Find the starting position using a dependable landmark.
- Speak or tap the rhythm separately from the notes.
- Practice the hand that has the clearest role first.
- Add visual cues only when they clarify the task.
- Repeat without lights to identify what still needs instruction.
Agree on accessible teaching instructions
Start by telling your teacher exactly which directions work. A spoken key name, a description of the keyboard landmark, and a demonstration of the rhythm serve different purposes. Ask the teacher to separate them rather than delivering everything at once.
For example, describe the location before discussing fingering, then explain the timing. If physical guidance is useful, agree on it beforehand and ask the teacher to explain the movement. You should know what you are learning, not merely where someone has placed your hand.
The LED piano learning guide for piano teachers provides a related teaching perspective. For your own lessons, keep the accessibility plan specific to the tasks you need to complete between sessions.
A lesson works as an independent learning tool only when you can recover its instructions afterward. Choose a record you can access, whether that is an audio note, enlarged text, or another format you already use comfortably.
- Ask for spoken directions instead of silent pointing.
- Separate location, fingering, rhythm, and expression.
- Agree on any hands-on guidance before it happens.
- Record the starting landmark for each exercise.
- Keep lesson notes in a format you can retrieve independently.
Measure independence rather than light-following speed
Use a simple practice log before adding another app or accessory. Record the passage, the cue you used, the difficulty you encountered, and whether you needed help. The log should explain what to change next, not merely count completed sessions.
For your 2026 routine, try a suggested 3 repetitions of the same short passage: one with your chosen guidance, one with less guidance, and one using sound and touch where possible. These are practice prompts, not a validated assessment. Stop or simplify the task when repetition becomes unproductive.
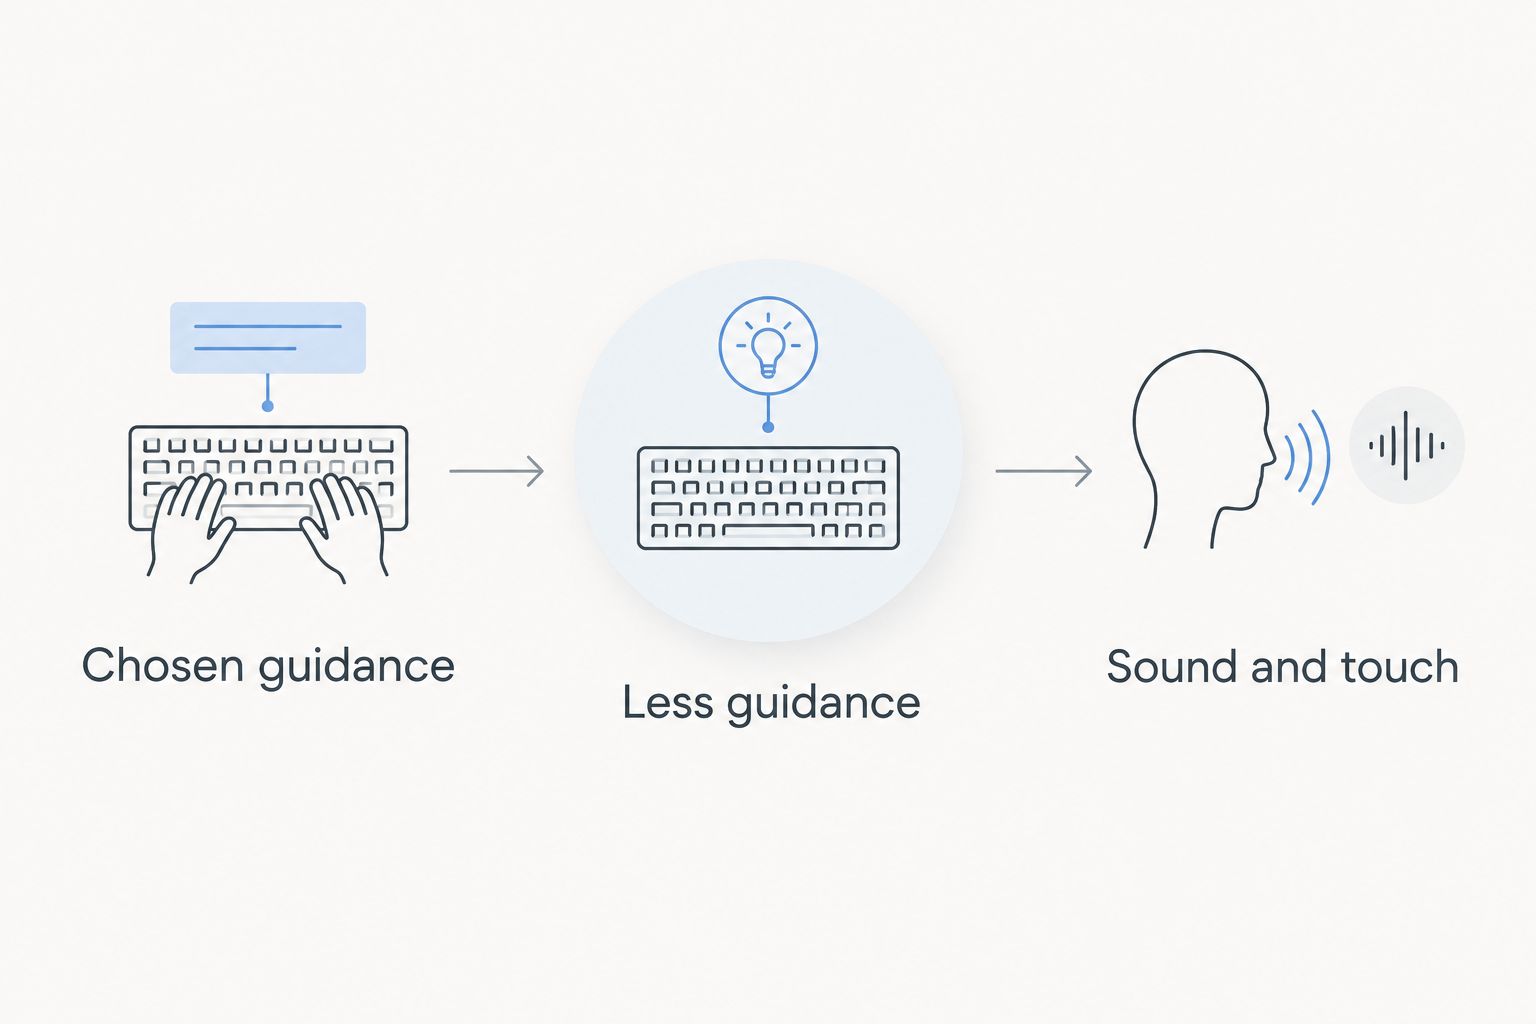
Judge the result by what you can recover. Finding the starting key again, identifying a wrong note, or restarting a passage without assistance are more useful observations than finishing a song while following every light.
- Record which cue made the passage understandable.
- Check whether you can recover after a wrong note.
- Repeat from the same starting position without prompting.
- Note where visual effort interrupts listening or playing.
- Change the exercise when the same barrier keeps returning.
Compare learning options by access, not appearance
The best option depends on how you receive instructions and operate practice materials. No single method covers every learner. Use this comparison to identify a starting approach, then test the actual teaching workflow.
| Option | Best for | Main advantage | Key limitation |
|---|---|---|---|
| Spoken instruction with tactile orientation | Learners who need nonvisual directions | Explains key location and movement without relying on sight | Independent practice still needs instructions you can retrieve |
| Learning by ear | Learners who prefer listening and imitation | Builds practice around sound rather than a visual display | You still need help with technique, fingering, and unfamiliar passages |
| Enlarged or high-contrast notation | Learners who can read suitably adapted material | Keeps written musical information available | Reading comfort and usable size need individual assessment |
| Piano LED Plus | Beginners who can use illuminated cues and the accompanying app | Provides app-synchronized visual guidance for learning songs | Its visual teaching method is not a substitute for nonvisual access |
Pianoledshop’s advantage is visual key guidance; its limitation for this audience is that visual guidance must be usable. Do not select Piano LED Plus on the assumption that its app supports your screen reader or that its lights suit your vision. Test the functions you need.
You can combine approaches without making one subordinate to another. Spoken teaching can explain a passage while lights help locate keys; learning by ear can support a learner who does not use lights at all. Keep the combination only if it reduces effort rather than adding controls to manage.
Common mistakes visually impaired learners make
Treating brighter light as better access
Brightness alone does not establish whether you can identify the target key comfortably. Assess the cue from your playing position and under your normal room lighting. Choose clarity over intensity, and stop using a cue that causes discomfort.
Assuming the app is accessible because the keyboard is usable
You can understand a keyboard cue and still be unable to select a song or restart an exercise. Test the full sequence, including recovery after an interruption. Access that depends on someone else operating every control is different from independent practice.
Replacing orientation with continuous prompting
Following each cue can leave the starting position unexplained. Learn a tactile landmark and a way to return to it. Then use guidance to support the phrase rather than making every movement depend on another prompt.
Choosing an entire song as the first access test
A long passage mixes musical difficulty with interface difficulty. Start with a short, familiar task so you can identify the actual barrier. Expand the material only after the instructions, controls, and key cues are understandable.
Confusing reduced vision with no usable vision
A method that works for one learner does not establish suitability for another. For a learner who cannot use visual cues, lights do not provide the missing instruction. Put verbal teaching, tactile orientation, and listening at the center instead.
FAQ
Is LED piano learning suitable for visually impaired beginners?
LED piano learning is an option for visually impaired beginners who can distinguish the key cues comfortably and operate the accompanying app. Test those tasks directly; visual impairment alone does not determine suitability.
Can a blind person learn piano without following lights?
Yes, a blind learner can learn piano through spoken instruction, tactile keyboard orientation, and listening. Choose teaching materials and controls the learner can access without visual prompting.
Is Piano LED Plus designed specifically for visual impairment?
Piano LED Plus is described as an app-synchronized, LED-guided learning system for beginner and hobbyist piano players. That description does not establish specialist accessibility features or suitability for a particular visual impairment.
Does Piano LED Plus work with my screen reader?
Check Piano LED Plus with your particular screen reader before relying on it for independent practice. Test choosing material, starting playback, stopping practice, and returning to a passage rather than assuming that every control is accessible.
What should I test before choosing an LED piano-learning system?
Test key-cue recognition, viewing comfort, app operation, and independent setup. Include your usual accessibility settings and practice position so the test reflects how you will actually learn.
Are LED cues better than learning piano by ear?
LED cues and learning by ear serve different purposes: lights indicate keys, while listening helps you understand the musical phrase. Use whichever method gives you clear instructions, and combine them only when both are useful.
How do I know whether LED guidance is helping me learn?
Check whether you can repeat a short phrase with less guidance and recover after a mistake. A useful practice method supports understanding and independence, not just completion while every cue remains visible.
One last thing
For your 2026 assessment, include a deliberate interruption: lift your hands, pause the exercise, and try to resume. This checks both keyboard orientation and control access in one ordinary practice situation. If you cannot restart independently, solve that barrier before increasing the musical difficulty.