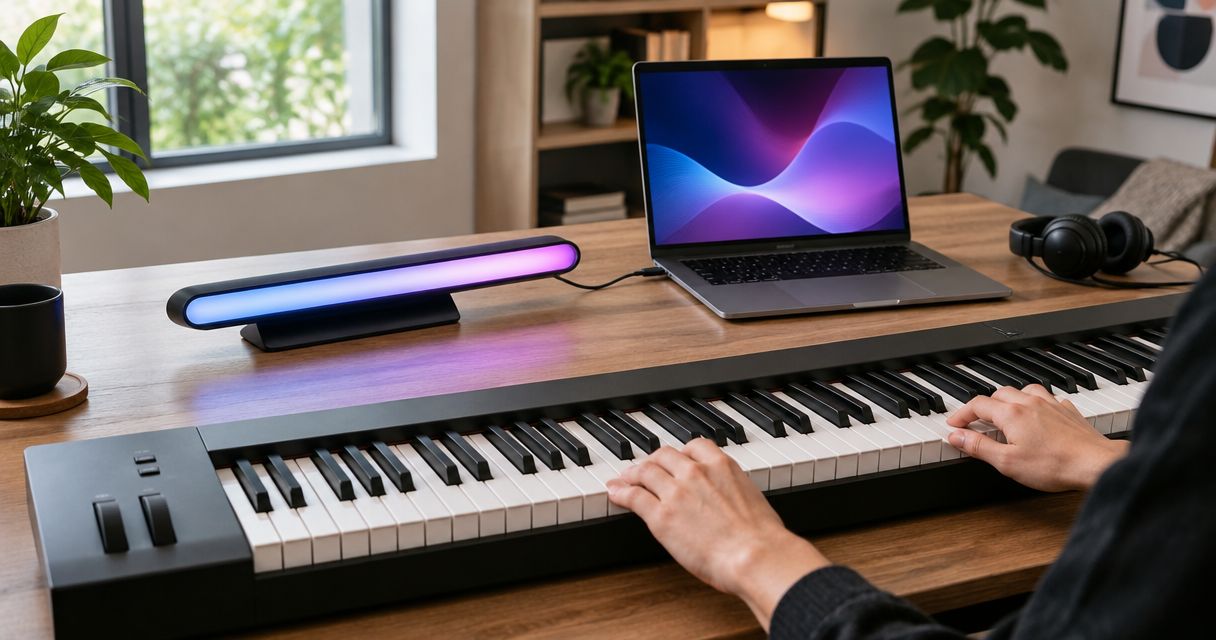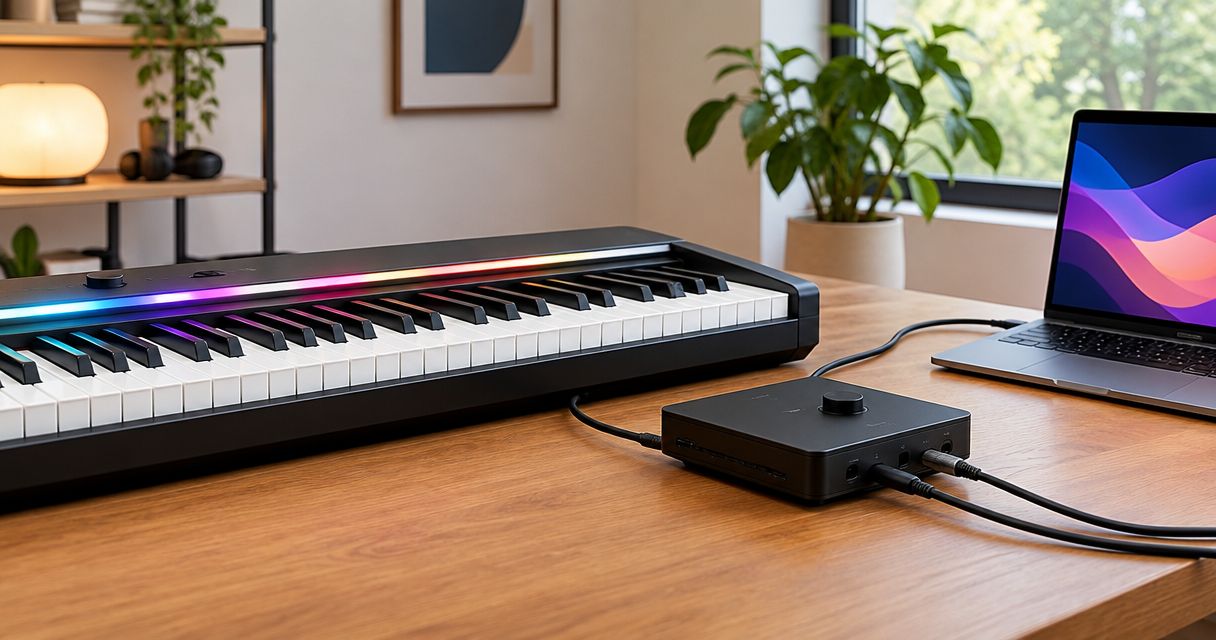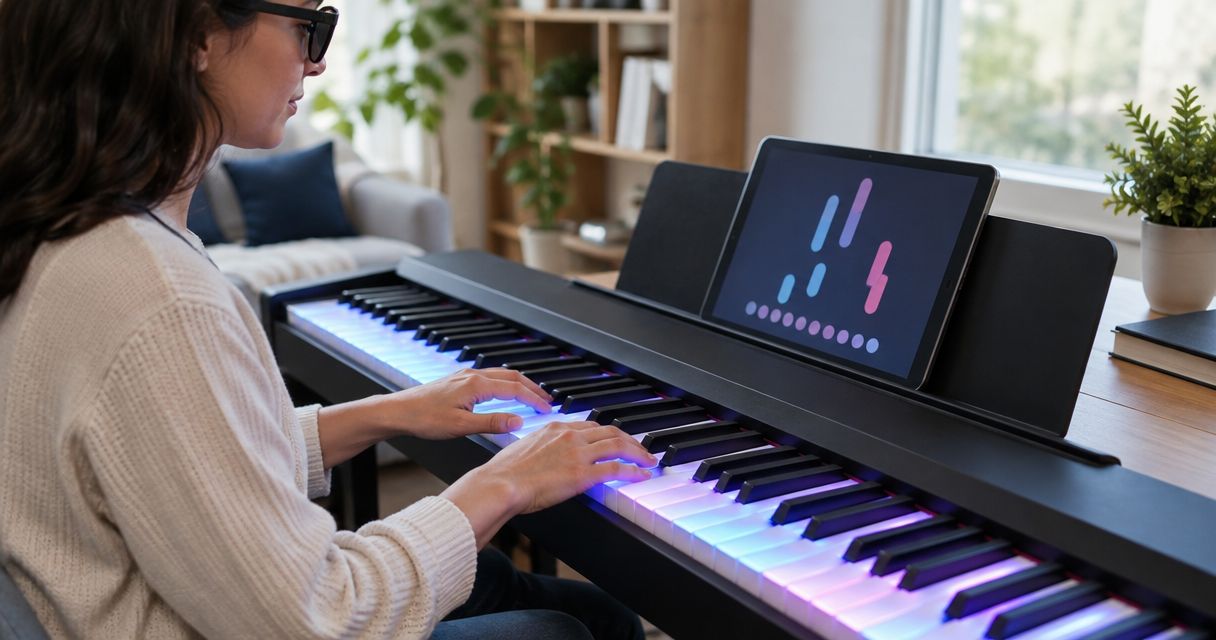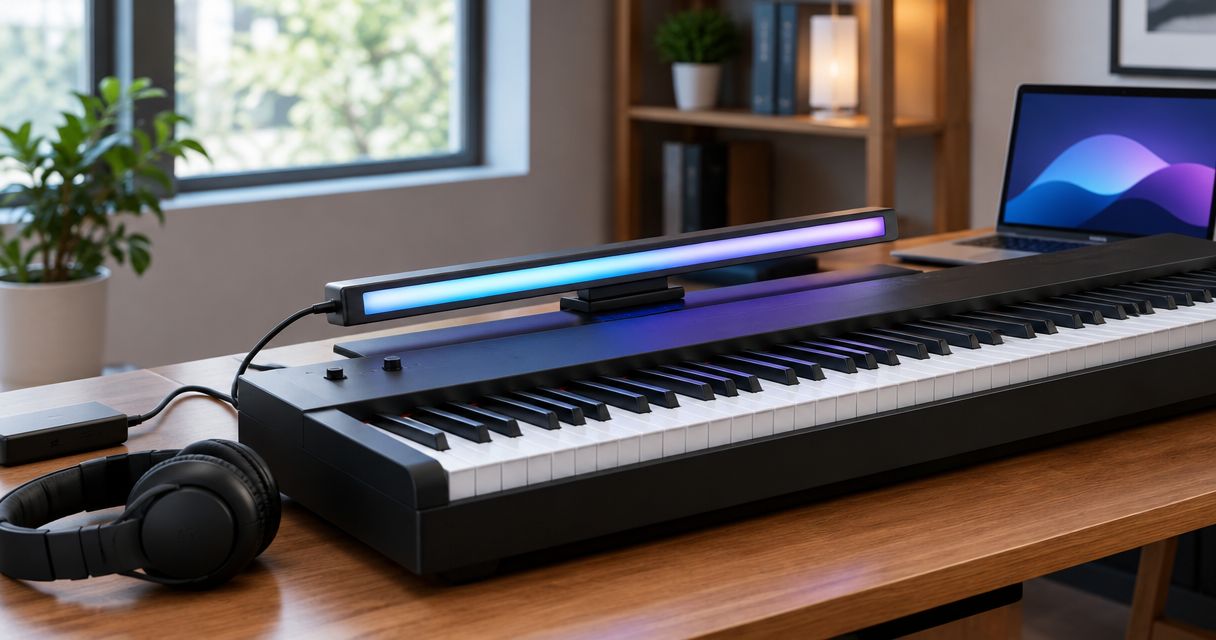
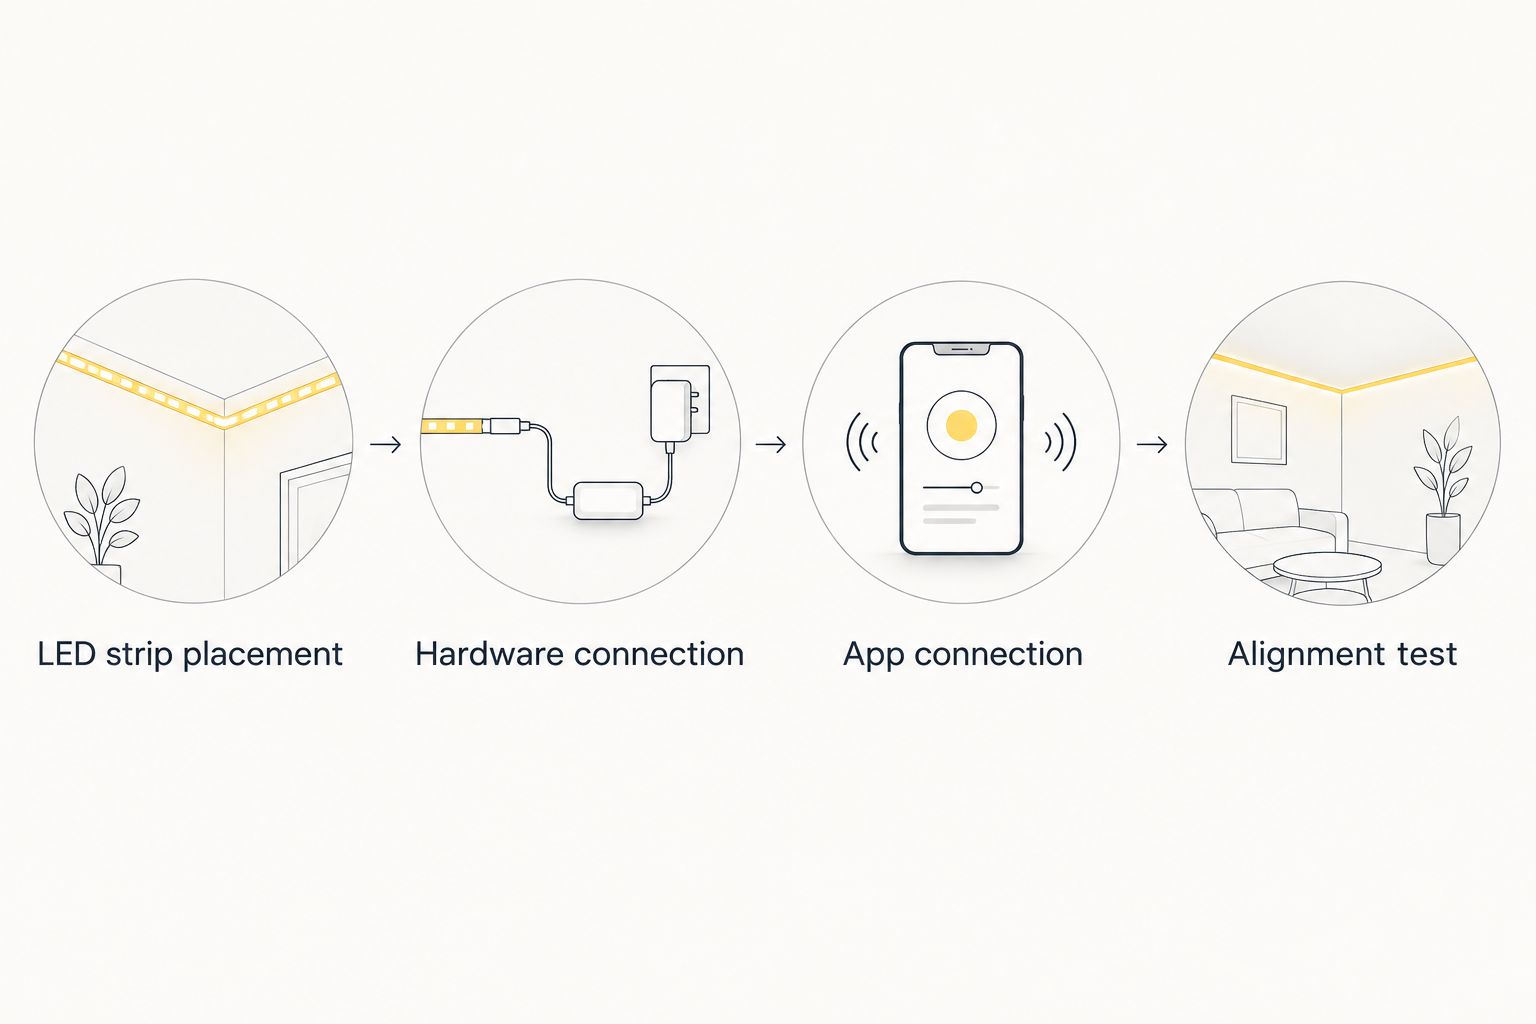
Instead of repeatedly looking between a song and your keyboard, connect Piano LED Plus to your Donner DEP-20 using the connection diagram supplied with your system, then use the app’s song-synced lights to guide your practice. Fit the lights, complete the specified hardware and app connections, and check note alignment before starting a full song.
- To connect Piano LED Plus to Donner DEP-20, follow the supplied connection diagram rather than guessing from socket shapes.
- Pianoledshop’s Piano LED Plus system suits beginners and hobbyists who want app-synced light guidance.
- Check LED placement and note alignment separately from the keyboard’s sound.
- Start with a short phrase; correct connection problems before attempting a full song.
Why this matters in 2026
A working piano sound is not proof of a working learning-system connection. Your Donner DEP-20 can produce sound while a separate learning setup remains disconnected or incorrectly aligned. Test sound, song guidance, and physical placement as separate parts of the setup.
Pianoledshop sells Piano LED Plus as an app-synced LED learning system for hobbyist and beginner pianists, including a Donner DEP-20 bundle. That gives you a clear learning purpose: use the lights to locate the notes in a song, then practise playing those notes accurately.
Pianoledshop’s Piano LED Plus system is best for beginner and hobbyist pianists who want app-synced light guidance. Its benefit is a visible reference at the keyboard; its limitation is that light guidance alone does not teach every aspect of piano technique, rhythm, or notation.
Keep those roles separate. The connection makes guidance possible; your practice turns that guidance into playing.
Before you start
Prepare these items before moving cables or attaching anything to the keyboard:
- Hardware and instructions: Have your Donner DEP-20, Piano LED Plus components, supplied connection diagram, and the cables and power accessories specified for your particular system together. Match the instructions to the equipment in front of you.
- App access: Have the device you intend to use for the app, the app itself, and any sign-in details required by its setup instructions ready. Complete the documented installation steps before attempting song playback.
- The connection gotcha: A connector fitting into a socket does not establish that it carries the required signal. Follow the documented connection route, and do not substitute an audio connection for a note-data connection.
For your 2026 setup checklist, record the equipment names and the connection route you actually use. A quick photo of the finished cable arrangement helps you restore the same setup after moving the keyboard.
Do not attach the strip permanently before checking its position. A physically neat installation can still place the illuminated reference over the wrong key.
LED strip placement
- Put the Donner DEP-20 on a stable playing surface and leave enough room to inspect the keyboard and its connections. Keep loose cables away from the keys, pedals, and your feet.
- Identify the installation position shown in the Piano LED Plus instructions. Use that position rather than choosing a location solely because it looks tidy.
- Place the LED strip provisionally. Check that it does not obstruct key movement, cover controls you need, or interfere with your normal hand position.
- Inspect the strip from your seated playing position. You need to distinguish the intended key without leaning sideways or changing your posture to see the light.
- Secure the strip only as directed by the installation instructions. Leave the final alignment check until you can run guidance from the app.
Expected result: The strip sits in the documented position, the keys move freely, and you can see the light references from your normal playing position.
Placement and note mapping are different checks. A strip can sit straight while its reference points remain shifted relative to the keys; the later alignment test catches that problem.
Do not solve a viewing problem by compromising your playing position. Move the permitted installation position within the instructions, adjust your seating, or remove an obstruction instead.
Hardware connection
- Read the supplied connection diagram from the keyboard outward. Identify each required component and each cable before plugging anything in.
- Check the labels on the actual sockets against the equipment manuals. Use those labels to distinguish the documented connection from audio outputs, pedal connections, and power inputs.
- Follow each device’s instructions for disconnecting power or making connections. Insert the specified cable without forcing the connector, and avoid a cable route that pulls sideways on the socket.
- Connect any other components shown in the diagram. Do not add a hub, adapter, or alternate connection path merely because it is already on your desk.
- Power the devices in the order stated in their instructions. Inspect any documented power or connection indicators before proceeding to the app.
Expected result: Every required physical connection matches the supplied diagram, and the equipment reaches the documented powered state.
The distinction between audio and MIDI is useful here. Audio carries sound; MIDI carries performance information such as note events. Hearing the keyboard through speakers or headphones does not demonstrate that another device is receiving note information.
USB connector shape also does not settle connection direction. USB communication involves a host and a connected device, so an improvised cable between two sockets is not a substitute for the manufacturer’s connection instructions.
Use the documented route before investigating alternatives. That keeps troubleshooting focused on the setup you are actually meant to use.
App connection
- Open the app identified in the Piano LED Plus instructions. Complete its documented initial setup before selecting a song.
- Follow the app’s connection sequence for your system. Choose the equipment identified by the instructions rather than selecting a similarly named nearby device.
- Complete any permissions or pairing actions specifically requested during that sequence. Keep the app device near the setup while establishing the connection.
- Check the app’s documented indication of a successful connection. A device appearing in a list is not the same as a completed connection.
- Select a song and begin its guidance sequence using the app’s actual controls. Check whether the LEDs follow that sequence before trying to play along.
Expected result: The app completes its documented connection process, and song guidance produces visible activity on the LED strip.
For a 2026 setup record, write down the app device you used and the successful connection sequence. That is more useful than remembering that you pressed several buttons until something worked.
Do not treat every light as confirmation of the entire setup. A power indicator establishes only what the instructions say it establishes; song-synced LED activity is a separate check.
Likewise, do not assume that pressing a key must trigger a light. Test live-key feedback only if the instructions describe that function for the mode you are using.
Alignment test
- Choose a short passage with clearly identifiable notes. Begin with a section you can inspect without trying to keep up with a whole song.
- Compare the illuminated reference with the intended key. Check 3 neighboring keys as a practical first inspection, rather than judging the installation from a single light.
- Look at another part of the keyboard used by the passage. A check near one location does not establish correct placement everywhere you intend to play.
- If the reference is shifted, stop playback and correct the installation or the documented alignment setting. Do not compensate by deliberately playing beside the illuminated key.
- Run 2 passes of the same short passage: watch the guidance during the first, then play during the second. Listen separately for the notes you produce.
Expected result: The light references identify the intended keys consistently, and you can follow a short passage without mentally correcting an offset.
A full octave spans 12 semitones. If the pattern looks correct but appears in a different register, investigate an octave or transposition setting described in the equipment instructions rather than immediately moving the strip.
Keep the diagnosis precise. A small physical offset and a musical register mismatch require different corrections.
Use the same setup for short-phrase practice
Once the connection works, use it for a second workflow: practise a short phrase rather than following a song from beginning to end. This changes your practice method, not the hardware connection.
Choose 1 short phrase with a clear beginning and ending. Watch its guidance, attempt it, then return to the same starting point using the controls actually available in your app. If a repeat function is documented, use it; otherwise restart the passage manually.
| Workflow | Best for | Advantage | Limitation |
|---|---|---|---|
| Connection check | A newly installed or moved setup | Separates placement and connection faults from playing mistakes | Does not demonstrate that you can perform the song |
| Short-phrase practice | Beginners learning an unfamiliar passage | Keeps your attention on a manageable musical section | Requires deliberate work on rhythm and fingering beyond locating keys |
Use the connection check after changing the setup; use short-phrase practice after it passes. Repeatedly reconnecting working equipment will not fix a difficult passage.
For your 2026 practice notes, record the passage and the specific difficulty: finding keys, coordinating hands, or maintaining rhythm. Choose the next exercise from that observation rather than changing settings at random.
Try one attempt without looking directly at the lights when you feel ready. That gives you a separate check of what you remember rather than what you can follow.
Troubleshooting
The keyboard sounds, but song guidance does not appear
Check the learning system’s power and the app’s documented connection status separately from the Donner DEP-20’s sound. Then inspect each connection against the supplied diagram. Speakers working does not establish that the app and LED system are connected.
A connector fits, but the connection does not complete
Confirm the cable’s function and the socket’s documented purpose. Remove an unapproved adapter or alternate route and return to the specified arrangement. Do not keep forcing or repeatedly changing connectors without identifying what each connection carries.
The lights appear beside the intended keys
Stop the passage and inspect strip placement from your playing position. Correct the physical position or use the alignment procedure described in the instructions. Do not learn an offset as a workaround: the reference should identify the key you intend to play.
The passage appears in the wrong register
Check documented transpose and octave settings before changing hardware placement. An octave is 12 semitones, so a consistent register shift differs from a strip that sits slightly to one side. Restore the appropriate setting and repeat the same passage test.
The connection changes after moving the setup
Inspect cable seating, cable tension, and the app’s connection state before resetting everything. Restore the arrangement from your setup photo and repeat the alignment test. If the documented troubleshooting procedure does not resolve the fault, give support the exact equipment names and the step where the expected result fails.
Customize your workflow
Keep a successful setup stable while you build the practice habit. Leave the cable route undisturbed where practical, keep the app device in a repeatable viewing position, and begin each session with a brief guidance check.
Pianoledshop’s light-guided learning system supplies a visible song reference; you still choose what to practise. Start with passages that let you identify notes clearly, then add coordination and rhythm work rather than measuring progress by how long the lights remain on.
If limited time is the main obstacle, use the LED piano learning guide for busy adults to plan the practice session around your available time.
Keep your 2026 connection checklist separate from your practice notes. The first records a repeatable equipment setup; the second records what your playing needs next.
FAQ
How do I connect Piano LED Plus to a Donner DEP-20?
Follow the connection diagram supplied with your Piano LED Plus system, complete the app’s documented connection sequence, and test LED alignment. Check the hardware route before attempting a full song.
Can I use any cable that fits the Donner DEP-20 socket?
No; a matching connector shape does not establish the cable’s function or the socket’s role. Use the cable and connection route specified in the equipment instructions.
Does hearing the piano mean Piano LED Plus is connected?
No; piano sound and the learning-system connection are separate checks. Confirm the app’s connection state and visible song-synced LED guidance independently.
Why are the Piano LED Plus lights showing the wrong keys?
Check physical strip alignment first when the lights sit beside the intended keys. For a consistent register shift, check documented octave and transpose settings before moving the strip.
Should the lights react whenever I press a key?
Use live-key response as a test only when the instructions describe it for your selected mode. Song-synced guidance and live-key feedback are different functions.
Can I practise a short phrase instead of a complete song?
Yes; choose a short passage and return to its starting point using the controls available in your app. Use a repeat function only if it is documented for that app.
Is Piano LED Plus a replacement for learning piano technique?
No; Piano LED Plus provides app-synced light guidance for locating notes in songs. Develop fingering, rhythm, posture, and notation skills alongside that guidance.
One last thing
Photograph the working setup before you tidy the cables. Include the connections and strip position, then save the photo with your equipment instructions. A record of a successful arrangement helps you restore it without repeating the entire investigation.
Pianoledshop’s Piano LED Plus system is a learning aid, not the measure of your progress. After the setup works, judge the next session by the passage you can play—not by another round of connection changes.