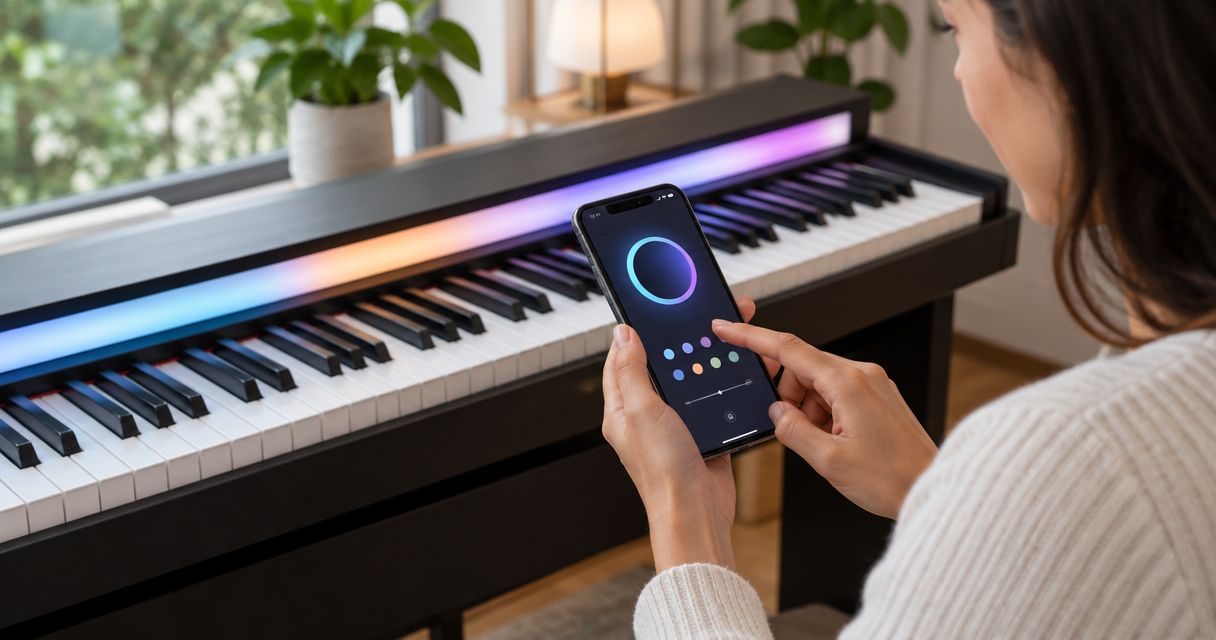
Instead of manually matching each song note to a piano key, connect the Piano LED Plus app to your smartphone using the connection method specified for your system, then check that the song and keyboard lights agree. Complete the setup in this order: identify the correct app, establish the supported connection, and verify the light-guided song before practising.
- To connect Piano LED Plus app to smartphone, follow your system’s connection instructions before selecting a song.
- Pianoledshop’s LED-guided piano learning system suits beginners and hobbyists who want song practice guided by app-synced lights.
- Treat phone connection, keyboard communication, and sound as separate checks.
- Confirm that illuminated keys match the song before starting a full practice session.
Why this matters
A connected smartphone is not the same as a verified piano-learning setup. Your phone must communicate through the intended connection, and the lights must identify the intended keys. Sound is a separate part of the check: hearing a song does not prove that the keyboard lights are receiving the correct instructions.
Pianoledshop describes its LED-guided piano learning system around songs, an app, and synchronised lights. That makes the final test practical rather than technical: can you follow the illuminated keys for the selected song?
For your 2026 setup, use the instructions supplied with your particular system rather than combining steps from unrelated accessories. A familiar-looking connector or wireless device name does not establish compatibility.
Before you start
- Gather the system and its instructions. Have your smartphone, piano or keyboard, LED system, and the installation materials supplied with them. Identify the app through those materials rather than choosing an app with a similar name.
- Prepare access and power. Keep the phone accessible, power the components as instructed, and have any required account details ready if the app requests sign-in. Use only the cables, adapters, and connection methods specified for your setup.
- Separate music audio from connection data. A phone playing sound through a speaker does not establish a MIDI connection or prove that the lights are synchronised. Do not use successful audio playback as your connection test.
Also check the order of connections before starting. Follow the supplied instructions where they specify whether to connect hardware before opening the app. Do not replace that sequence with a generic Bluetooth-pairing routine.
App identification and phone preparation
Establish the correct starting point
- Find the app reference. Use the app name, installation reference, or QR code supplied with your system. Confirm the destination before installing anything or entering account details.
- Check the phone requirements. Compare your smartphone and operating-system version with the requirements stated in the installation materials. Resolve a stated incompatibility before troubleshooting connections.
- Install and open the identified app. Complete the introduction and any required sign-in. Keep your system instructions beside the phone so you can follow the actual on-screen wording.
- Review requested permissions. Read each permission explanation and allow the access required for the documented connection method. Avoid granting unrelated access simply because a prompt appears.
- Keep the app in view during setup. Finish the connection checks before switching between other music apps, calls, or recording tools.
Expected result: the identified app opens successfully, any required sign-in is complete, and you can reach the connection stage described in the installation instructions.
Do not troubleshoot the LED strip while the app itself cannot open. Resolve installation, account access, or a stated phone requirement first. These are different problems from a device that fails to appear during connection.
For a 2026 installation, record the app and phone versions you actually use. That gives you a useful reference if the behaviour changes after an update; it does not require guessing which version another guide describes.
Supported connection configuration
Establish the documented connection
- Prepare the hardware. Position and connect the LED system according to its installation instructions. Check that plugs are seated correctly without forcing connectors or putting tension on the sockets.
- Identify the specified connection route. Follow the documented wired or wireless method for your system. Do not assume that the smartphone connects directly to the piano rather than another component.
- Enable the required phone setting. If the instructions require a wireless function, enable it. If they specify a wired connection, use the stated connection arrangement rather than substituting an adapter based only on connector shape.
- Open the documented connection control. Use the control named in the app instructions and select the device those instructions identify. Do not select a similarly named speaker or unrelated accessory.
- Confirm the connection indication. Check the status shown by the app and any hardware indication described in the manual. A powered light alone proves only that something has power.
- Leave the arrangement unchanged for testing. Keep the same phone, cables, app, and hardware connections in place until you have verified the song-to-light behaviour.
Expected result: the app and system show the connection state described in their instructions, without repeatedly disconnecting during the next test.
If your documented route uses Bluetooth MIDI, consult the Piano LED Plus Bluetooth MIDI connection guide. Bluetooth audio and Bluetooth MIDI serve different purposes; pairing an audio device is not a substitute for following the MIDI connection instructions.
Keep the connection checks separate
Use the following sequence to avoid changing several settings at once. These checks describe what you need to establish, not additional features that every installation must offer.
- App ready: the identified app opens and reaches its connection controls.
- Connection confirmed: the app shows the documented connection state.
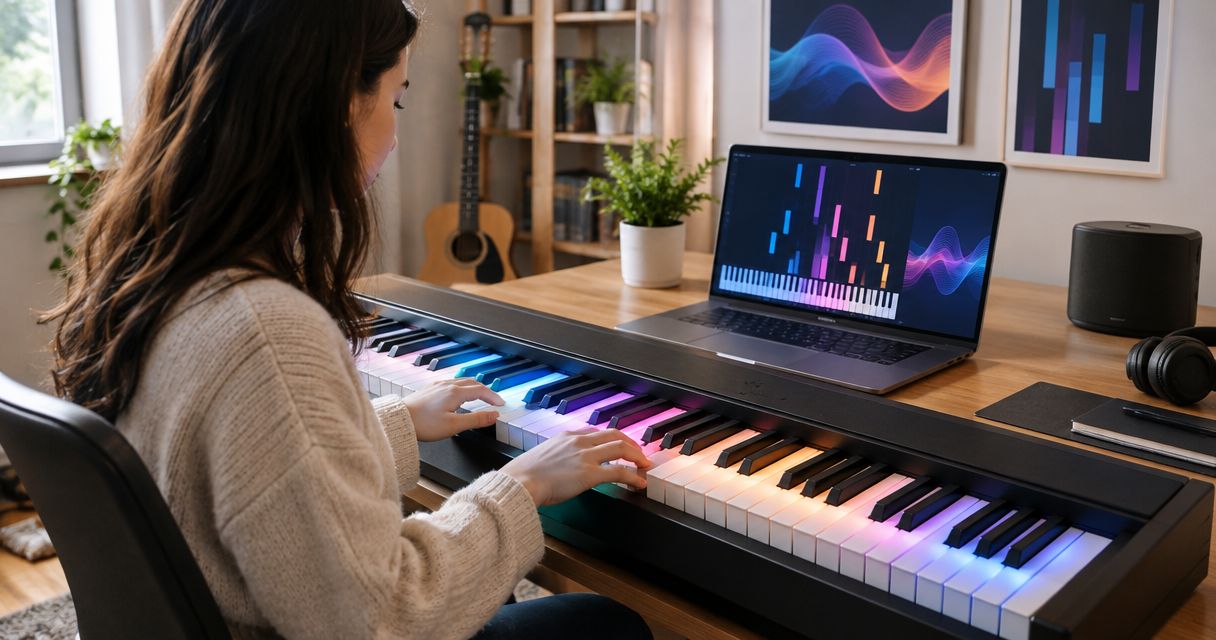
- Lights checked: the selected song produces the intended light guidance.
- Practice ready: you can use that guidance without an unresolved mismatch.
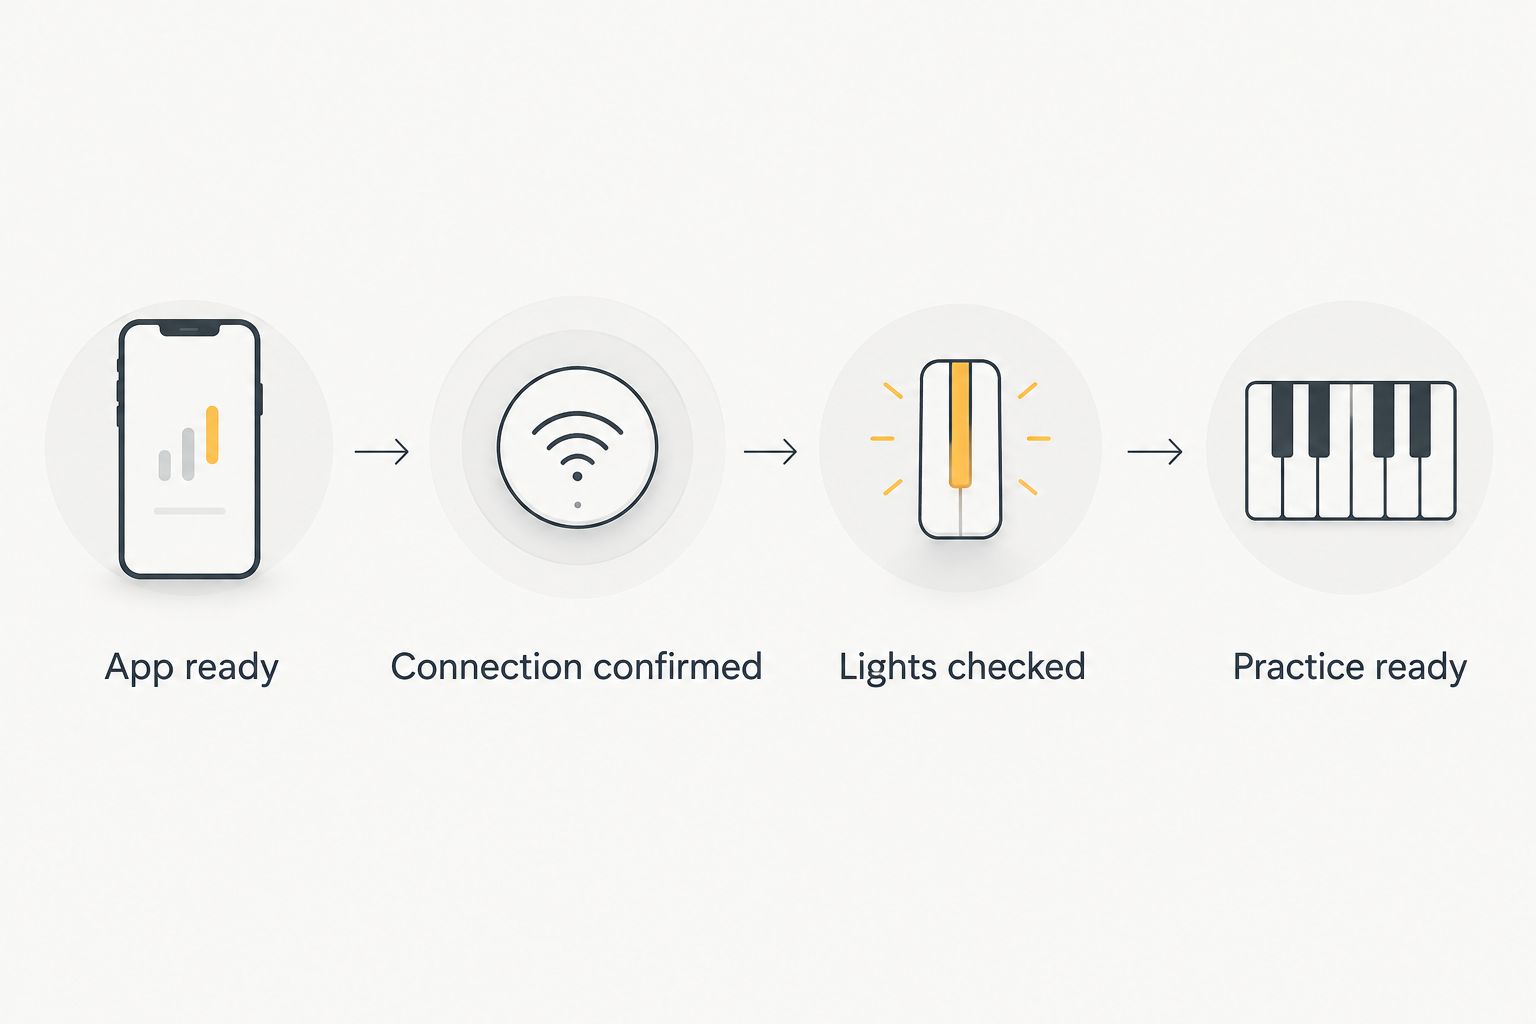
Change one part of the setup at a time. If you replace a cable, change a permission, and select another device together, a successful retry will not tell you which change solved the problem.
Song and light verification
Check the musical result
- Select a short, familiar passage. Choose something whose opening you can recognise. Use the playback or practice controls documented for the app rather than assuming a particular mode exists.
- Observe before playing. Start the passage as instructed and watch the lights. Establish that the guidance begins with the selected music rather than an unrelated demonstration.
- Check 3 notes individually. Compare each illuminated position with the intended piano key. This is a recommended test, not a claimed calibration procedure or performance specification.
- Test the sound separately. Confirm where you expect to hear the music: the instrument or another audio destination configured for your setup. Do not change the data connection merely because the sound is coming from somewhere unexpected.
- Repeat the opening for 2 passes. Stop and restart the same short passage. Check that its opening guidance is consistent before moving to a full song.
- Note the working arrangement. Record the phone used, the selected device name, and the connection route. Keep that note with the installation instructions.
Expected result: the lights correspond to the selected passage and the intended keys on repeated playback. Where the documented workflow includes keyboard input, verify that input using the manual’s stated test as well.
Do not practise through a known key mismatch. A connection status cannot compensate for guidance pointing to the wrong place. Recheck physical positioning and any documented alignment procedure before learning the passage.
For your first 2026 practice session, stop testing once the connection and musical result are correct. Adding another accessory immediately creates another variable without improving the verification you just completed.
Reconnecting for your next practice session
An initial installation and a later reconnection have different goals. The initial installation establishes the working arrangement; reconnection checks whether that arrangement still works.
| Workflow | Best for | Advantage | Limitation |
|---|---|---|---|
| Initial setup | A new phone or a newly installed system | Checks app identity, access, hardware, and song guidance together | Requires the full installation sequence |
| Routine reconnection | Returning to a previously verified setup | Starts from a known working arrangement | Still needs a short light-and-song check |
Restore the verified arrangement
- Prepare the same hardware connections that passed your earlier test.
- Open the identified app and follow its documented reconnection procedure.
- Confirm the selected device rather than assuming the previous selection remains active.
- Replay the familiar opening passage and verify the lights before beginning practice.
Expected result: you return to the same verified song guidance without repeating installation steps that have not changed.
Keep the initial test to 1 smartphone as a troubleshooting choice. Leave other phones out of the connection attempt until the intended phone works; this makes it easier to identify which device you are testing.
If you change phones during 2026, treat the replacement as a new installation. Recheck requirements, permissions, and the connection route rather than assuming the previous phone’s settings transfer with the app.
Troubleshooting
The app cannot find the system
First confirm power, the documented connection route, and the permissions required for that route. Then repeat device discovery exactly where the installation instructions place it. Searching a general phone menu is not equivalent to searching inside an app when the instructions specify an in-app connection.
Check the intended device name before selecting anything. Do not repeatedly try unrelated nearby devices simply because they appear in a list.
The phone connects, but the lights do not follow the song
Check whether you established the required data connection or only an audio connection. Return to the app’s documented device selection, confirm the selected song, and inspect the hardware connections.
A connection indicator is a starting point, not the final acceptance test. Repeat the short passage after correcting the connection rather than jumping straight into a different song.
The lights point to different keys
Stop the passage and inspect the physical placement against the installation instructions. If those instructions include an alignment setting or procedure, use it; do not invent an offset or compensate by playing neighbouring keys.
Repeat the individual-note check after the correction. Keep the same passage so that you are comparing the same musical material.
The lights work, but you cannot hear the expected sound
Check instrument volume and the audio destination you intended to use. MIDI carries musical instructions rather than recorded sound, so a functioning MIDI path does not establish that your audio output is configured correctly.
Leave the verified light connection in place while checking sound. Rebuilding a working data connection adds unnecessary uncertainty.
A working setup stops working after a change
Identify what changed: the phone, app version, operating system, cable, adapter, or device selection. Recheck that part against the installation requirements and retest the familiar passage.
If you need help, provide the exact symptom and the stage that fails. A useful report distinguishes an app that will not open from a missing device, incorrect lights, or missing sound.
Customize your workflow
Pianoledshop’s LED-guided piano learning system is best for beginners and hobbyists who want to follow app-synced lights while learning songs. Its clear benefit is the connection between the selected music and visible key guidance; the practical limitation is that you must verify that connection and alignment before relying on it.
Build your routine around that distinction. Keep the phone where you can reach it without stretching across the keys, choose a short passage, and confirm its opening before extending the session. Keep cables clear of moving pedals and your playing position.
For your 2026 practice notes, record the connection route once and update it only when something changes. Save musical observations separately: a difficult passage is a practice issue, while consistently incorrect key guidance is a setup issue.
Pianoledshop’s LED-guided piano learning approach gives you a visual route into songs. Keep checking the sound and the intended notes as well as the lights, so your practice stays focused on the music rather than merely completing a connection.
FAQ
How do I connect the Piano LED Plus app to my smartphone?
Identify the app through your system’s installation materials, then follow the documented connection method. Confirm the connection in the app and test a short song passage against the illuminated keys before practising.
Do I connect through my phone’s Bluetooth settings?
Use the connection location specified in your system’s instructions. Bluetooth audio pairing does not establish a Bluetooth MIDI connection, and a general phone pairing menu is not a substitute for a documented in-app procedure.
Does Piano LED Plus work with every smartphone?
Check your smartphone and operating-system version against the requirements supplied with your system. A connector shape or the presence of Bluetooth does not establish compatibility.
Why does my phone connect but the piano lights do nothing?
Check that you established the required data connection rather than only an audio connection. Confirm the app’s selected device, the selected song, and the hardware connections before repeating a short passage.
Why are the lights pointing to the wrong piano keys?
Recheck the LED system’s physical position against its installation instructions. Use any documented alignment procedure, then verify individual notes before continuing the song.
Do I need to reinstall the app before every practice session?
A routine reconnection starts with the previously verified installation, not a fresh installation. Follow the documented reconnection procedure and check a familiar song opening before practising.
What information should I provide when asking for connection help?
Provide your phone model, operating-system version, app version, connection method, and exact symptom. State whether the failure occurs during app opening, device discovery, song guidance, or sound playback.
One last thing
Use the same short passage every time you check the connection. Changing songs while troubleshooting changes the musical reference as well as the setup. A familiar opening makes incorrect light positions easier to recognise and gives you a repeatable starting point for your next session.