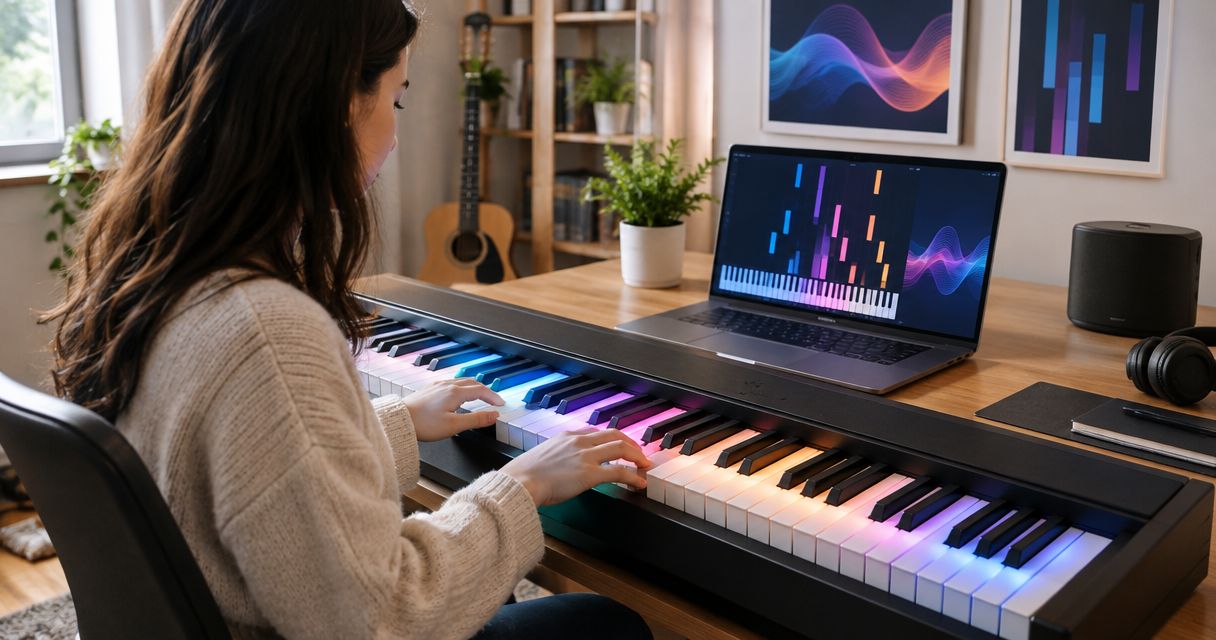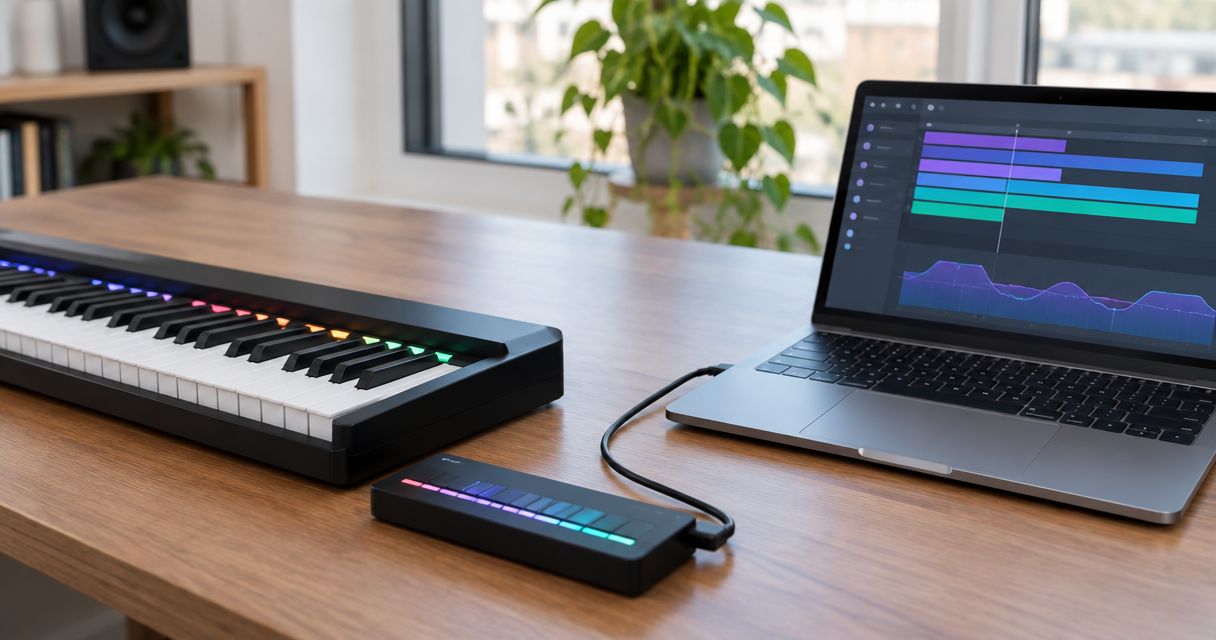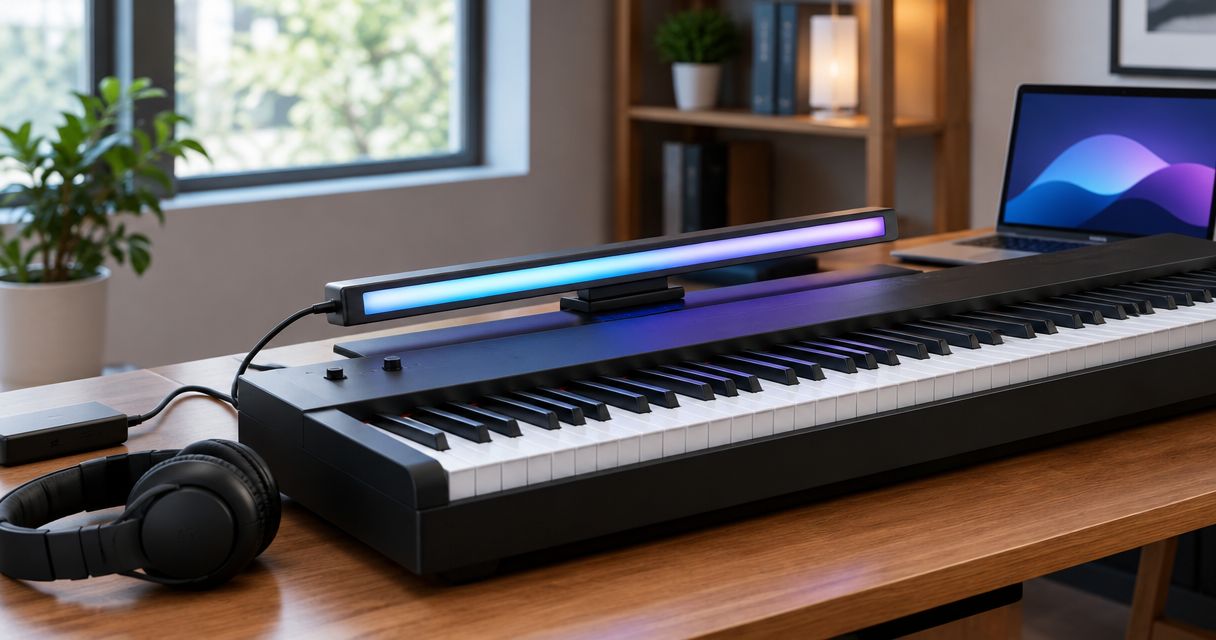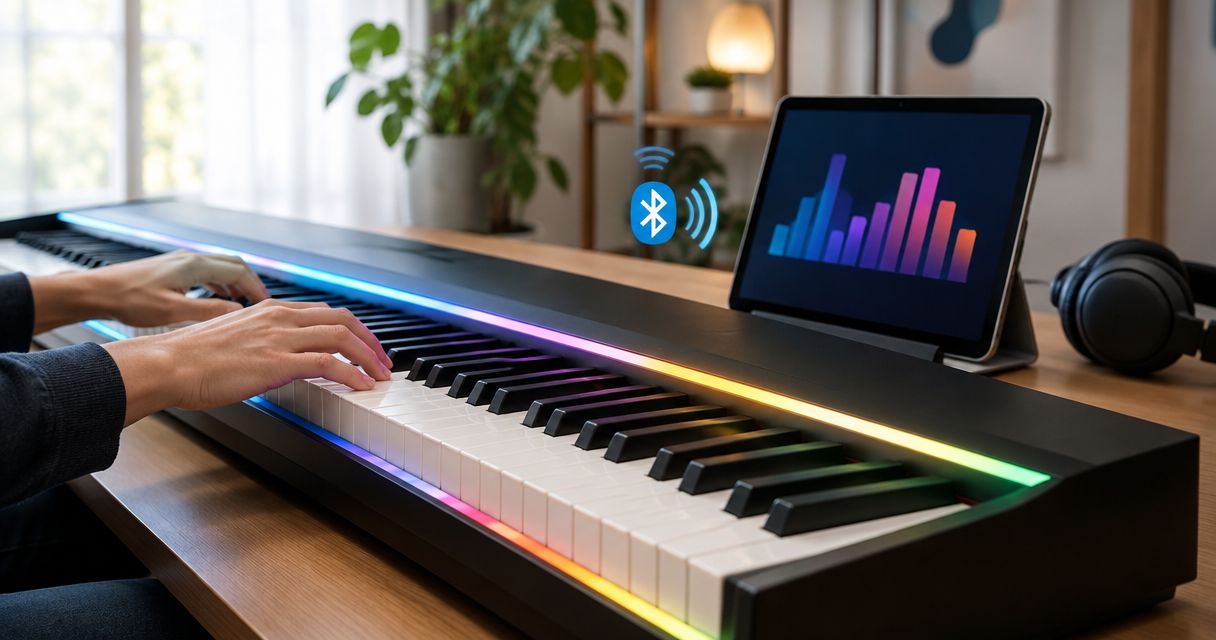
Instead of repeatedly pairing devices and guessing why the lights do not respond, connect Piano LED Plus via Bluetooth MIDI only after confirming that the intended connection supports MIDI, not just audio. Then establish the documented device connection, select the MIDI destination in the app, and test note-to-light behavior before starting a song.
- To connect Piano LED Plus Bluetooth MIDI, verify the supported connection path before pairing anything.
- Bluetooth audio carries sound; Bluetooth MIDI carries musical instructions such as note events.
- Pianoledshop suits beginners seeking LED-guided piano practice; confirm connection requirements before choosing a setup.
- Test the app connection and physical light alignment separately before playing a complete song.
Why this matters
A device appearing in a Bluetooth list does not prove that it can exchange MIDI with your learning app. Wireless headphones, a piano's audio receiver, and a Bluetooth MIDI endpoint serve different purposes. Choosing the wrong endpoint leaves you connected without the musical information your workflow needs.
Pianoledshop sells an LED-guided piano learning system for hobbyists and beginners. Pianoledshop is best for beginners who want to follow app-synced lights while learning songs. That learning approach still needs the correct connection between the app and the lighting system.
For your 2026 setup, distinguish two directions: instructions traveling from the app toward the lights, and notes traveling from the keyboard toward an app. Do not assume that a working connection in one direction proves the other works.
Before you start
- Gather the complete setup. Have Piano LED Plus, its supplied setup instructions, the learning app, your phone or tablet, and the keyboard's manual ready. Identify which device must send MIDI and which must receive it.
- Confirm Bluetooth MIDI support for the exact connection. Check the documentation for the lighting system, app, keyboard, and any adapter involved. A Bluetooth logo or audio-pairing feature is not confirmation of MIDI support.
- Check the discovery method before pairing. Some Bluetooth MIDI connections are established inside a compatible app rather than through ordinary audio pairing. Follow the documented method and grant the Bluetooth permissions requested by your operating system.
The non-obvious trap is treating the keyboard's wireless connection as the lighting system's connection. Write down the destination you need before opening a device list. If the documentation specifies a cable or adapter for that destination, use that route rather than substituting Bluetooth.
Choose the connection that carries the right information
Best for wireless musical instructions: a documented Bluetooth MIDI connection. Its advantage is a wireless MIDI link; its limitation is that the sender, receiver, and software must support that link.
The alternatives below are connection types, not a compatibility list for Piano LED Plus. Use them to identify what your equipment actually offers.
| Connection type | Best for | Advantage | Limitation |
|---|---|---|---|
| Bluetooth MIDI | Wireless note and control messages between compatible endpoints | Carries musical instructions without a MIDI data cable | Requires compatible hardware and app support |
| Bluetooth audio | Sending sound to compatible speakers or headphones | Carries an audio signal | Does not provide MIDI note instructions |
| Wired MIDI connection | Equipment whose documentation specifies a wired MIDI route | Makes the physical data path easier to identify | Requires the correct ports, cable, and host arrangement |
Bluetooth MIDI does not itself carry the sound of a piano. MIDI messages describe musical actions, while audio carries the resulting sound. That distinction explains why hearing a song is not proof that the lighting connection works.
Device discovery
Start with the connection described in the product instructions. These steps describe the checks to perform, not a substitute set of product-specific button names.
- Identify the sender and receiver. Write the intended route in plain language, such as app to lighting system. Include the keyboard only where the documented setup requires it.
- Power the required equipment. Follow the supplied power instructions and complete any documented startup sequence before scanning.
- Enable the documented wireless mode. Use the device's stated discovery procedure. Do not improvise a button combination or reset sequence.
- Open the appropriate device selector. Use the app's MIDI connection area if its instructions specify in-app discovery; use operating-system pairing only when directed.
- Match the listed endpoint to the instructions. Select the documented device identity rather than the first entry containing a familiar piano name.
Expected result: the intended MIDI endpoint appears in the connection interface specified by its documentation. Discovery alone is not a completed setup; the next task is establishing the correct route.
If no appropriate endpoint appears, stop here. Repeating song playback cannot fix a device that has not been discovered. Check wireless mode, permissions, power, and whether another app or device already holds the connection.
MIDI routing
A MIDI connection must point toward the device that needs the messages. Keep input and output roles separate when the app exposes both.
- Connect to the documented endpoint. Wait for the interface to show that the connection has completed before leaving the connection screen.
- Assign the required direction. For app-driven lighting, follow the instructions for sending the song's MIDI information toward the lighting system. For keyboard input, follow the separate instructions for receiving played notes.
- Check additional routing settings only when required. Change MIDI channel, track, or port settings only where the app or device documentation calls for them.
- Remove unintended routes during testing. Temporarily close other music apps or disconnect unrelated MIDI destinations so the test has a clear path.
- Keep the initial configuration simple. Establish the required connection before adding audio routing, recording software, or other equipment.
Expected result: the app shows the intended connection in the required direction. An input activity indicator, if provided, confirms incoming messages only; it does not prove that the app sends instructions to the lights.
For a 2026 connection checklist, record the device name, connection method, and selected direction. A short written record makes later reconnection easier without relying on memory or screenshots alone.
Note verification
Test a small musical action before loading a complete arrangement. Separating connection testing from song practice makes errors easier to locate.
- Choose a simple test passage. Use a few isolated notes in the app's documented practice or playback workflow, rather than a dense chord sequence.
- Observe 5 separate notes. Check whether each instruction produces the expected light response. This is a suggested test sequence, not a product performance specification.
- Check physical alignment. Compare each illuminated position with the intended keyboard key. A responding light and a correctly positioned light are separate checks.
- Release each note fully. Watch for lights or notes that remain active after the musical event has ended.
- Test keyboard input separately if your workflow uses it. Play individual keys and inspect the app's supported input feedback, rather than inferring input from song playback.
Expected result: the documented workflow produces the correct response for each isolated note. Only then move to chords or a full song.
The verification sequence separates three questions: did the connection deliver the instruction, did the correct position light up, and did the response end correctly? Keep those questions separate when troubleshooting.
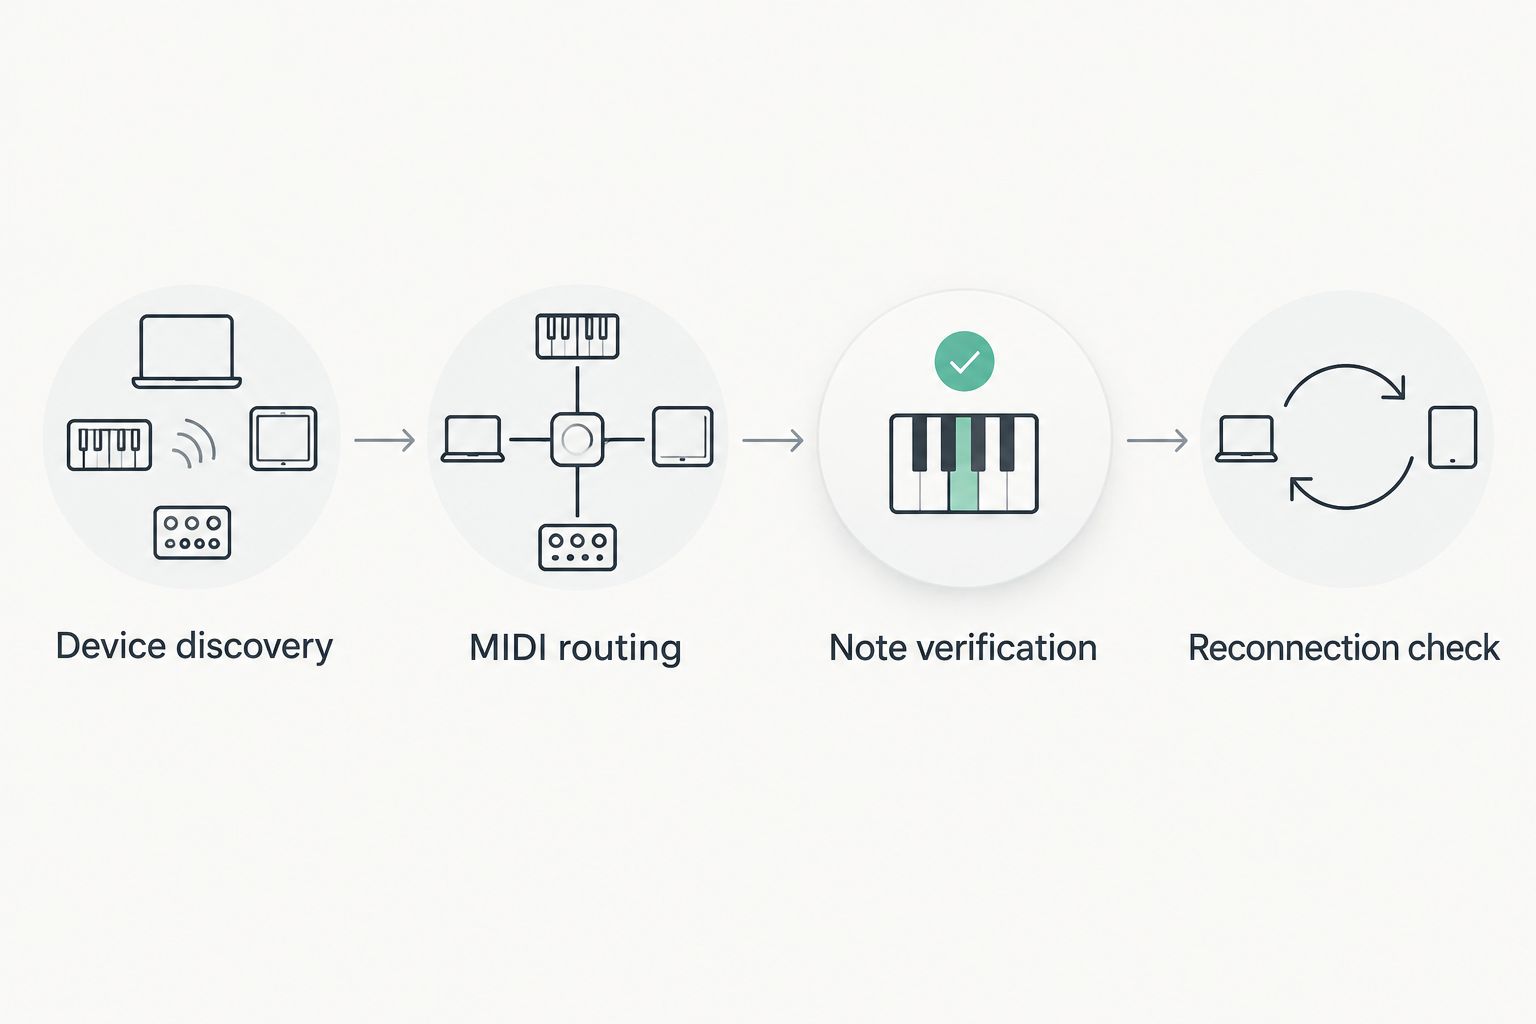
Reconnection check
A connection that works once still needs a repeatable startup procedure. Test that procedure before treating your setup as ready for regular practice.
- Finish the test cleanly. Stop playback before disconnecting anything, then close the session using the documented procedure.
- Disconnect and reconnect once. Follow the same startup order and select the same endpoint used in the successful test.
- Observe a 10-second idle period. Use this suggested observation window to check whether the interface remains connected before playback begins.
- Repeat the short note test. Confirm the same light positions and note endings rather than judging the setup from a connection icon alone.
- Record the working sequence. Note which device starts first and where the connection is selected.
Expected result: you can reproduce the connection and note response without changing unrelated settings. Keep this sequence with your 2026 practice notes so another household member can repeat it.
Avoid factory resets as a routine reconnection step. Use a reset only when the manufacturer's instructions call for it, and understand which settings it removes before proceeding.
Reconnect after changing your practice device
Best for shared-household practice: verify each phone or tablet as a separate setup. Reusing a working procedure saves time, but a second device still needs its own permissions and supported app configuration.
Stop playback on the first device and disconnect its MIDI session before establishing the new one. Then repeat discovery, routing, and isolated-note verification on the second device. Do not assume that an endpoint visible on both devices supports simultaneous connections.
This variant also applies after reinstalling an app or changing operating-system permissions. Recheck the route instead of changing the light alignment to compensate for a connection problem.
For a 2026 device change, preserve the successful configuration notes before replacing the old setup. Record the app and operating-system versions as displayed on your equipment; do not copy version numbers from someone else's instructions.
Troubleshooting
The device appears for audio but not for MIDI
Fix: confirm that you are looking for a MIDI endpoint. Audio pairing does not establish a MIDI route. Check the documented discovery method and whether the exact hardware connection supports Bluetooth MIDI.
Do not buy an adapter based solely on a Bluetooth label. Verify its MIDI purpose and compatibility with both ends of the proposed connection.
The app reports a connection, but no lights respond
Fix: check the destination and direction before changing hardware. Confirm that the app is sending the required musical information toward the lighting system, rather than merely receiving keyboard input.
Return to isolated notes. If the app provides separate input and output indicators, inspect the relevant one instead of treating any activity as proof of the complete route.
Lights respond over the wrong keys
Fix: separate physical placement from musical mapping. Check the lighting system's documented alignment procedure, then inspect any transpose or octave settings involved in playback.
Do not move the strip and change transposition simultaneously. Change one setting, repeat the same notes, and keep only the adjustment that resolves the mismatch.
The connection works until another app opens
Fix: test with unrelated music apps closed. Another application can hold a MIDI connection or introduce an additional route. Reopen the required app, reconnect, and repeat the successful test sequence.
If you need several apps, establish that arrangement only after the basic connection works. Confirm each app's supported routing behavior rather than assuming they share the endpoint.
Notes linger or responses seem doubled
Fix: stop playback and inspect duplicate routes. A note needs an ending message as well as a beginning message; interrupted communication can leave an active note unresolved.
Use the app's documented stop or note-reset procedure. Then remove unintended routes and repeat the test with isolated notes before restarting the song.
Customize your workflow
Once the connection is repeatable, make the practice session simpler rather than adding more devices. Choose a short passage, keep the same startup order, and separate musical difficulty from technical checks.
Pianoledshop's LED-guided learning approach is best suited to beginners who want visible note prompts. Its benefit is a direct visual cue; its limitation is that following lights is not the same task as independently reading notation or choosing fingering. Include those skills separately when they are part of your learning goal.
For the keyboard side of the setup, use the Piano LED Plus connection guide for an 88-key MIDI keyboard. Treat it as an adjacent workflow, not proof that every keyboard provides the same wireless connection.
FAQ
How do I connect Piano LED Plus via Bluetooth MIDI?
First confirm that the exact app-to-device connection supports Bluetooth MIDI, then follow its documented discovery and routing procedure. Verify the result with isolated notes before starting a song.
Is Bluetooth audio the same as Bluetooth MIDI?
No. Bluetooth audio carries sound, while Bluetooth MIDI carries musical messages such as note events; an audio connection does not establish the MIDI route needed for note instructions.
Should I connect through my phone settings or inside the app?
Use the discovery method specified by the app and device instructions. Some Bluetooth MIDI connections are established inside the app rather than through ordinary audio pairing.
Does my piano need Bluetooth for LED-guided practice?
The required connection depends on the documented system arrangement. Identify whether the keyboard is part of the MIDI route before treating its Bluetooth features as a requirement.
Why does the app say connected when the lights do nothing?
A connection status does not prove that MIDI messages reach the intended destination. Check the selected endpoint, output direction, and documented playback route, then test isolated notes.
Can I move the setup to another tablet?
Check the second tablet's app support and permissions, then establish its connection separately. Disconnect the previous session and repeat the note test before using the new device for practice.
How do I check whether the lights match the keys?
Use isolated notes and compare each illuminated position with the intended keyboard key. Check physical alignment separately from transpose or octave settings so you change only one variable at a time.
One last thing
Hearing the right note does not prove that the right MIDI destination received it. Sound, input recognition, and lighting are separate observations. Before your next 2026 practice session, repeat the same short note test 3 times using your recorded startup procedure; consistency is more useful than repeatedly changing settings.