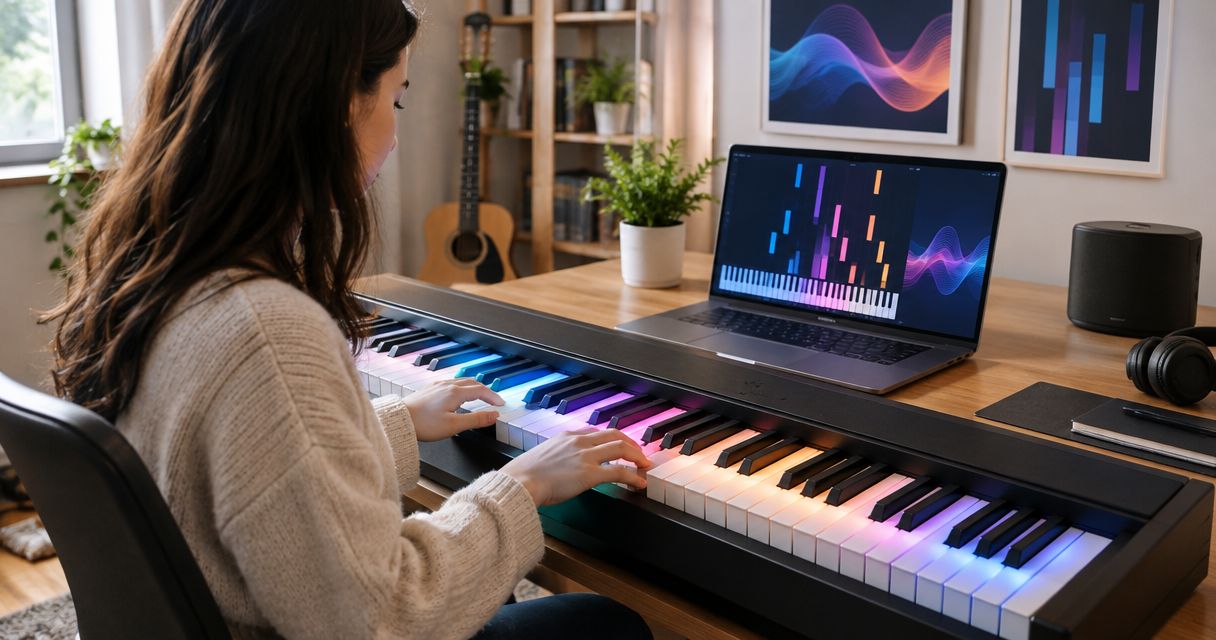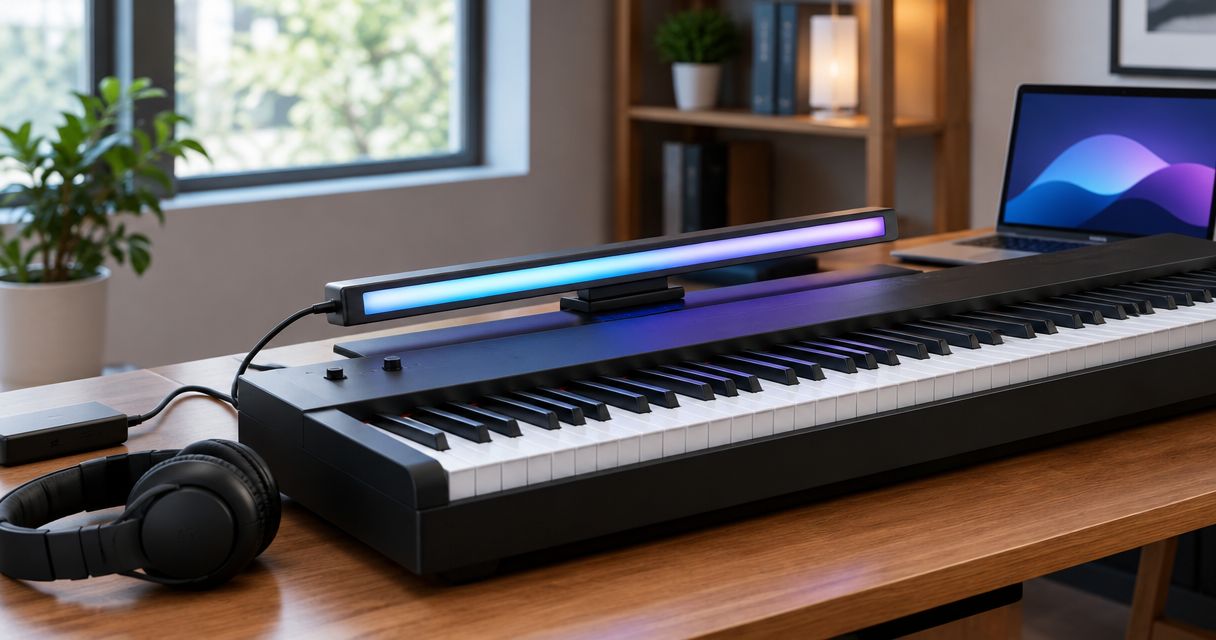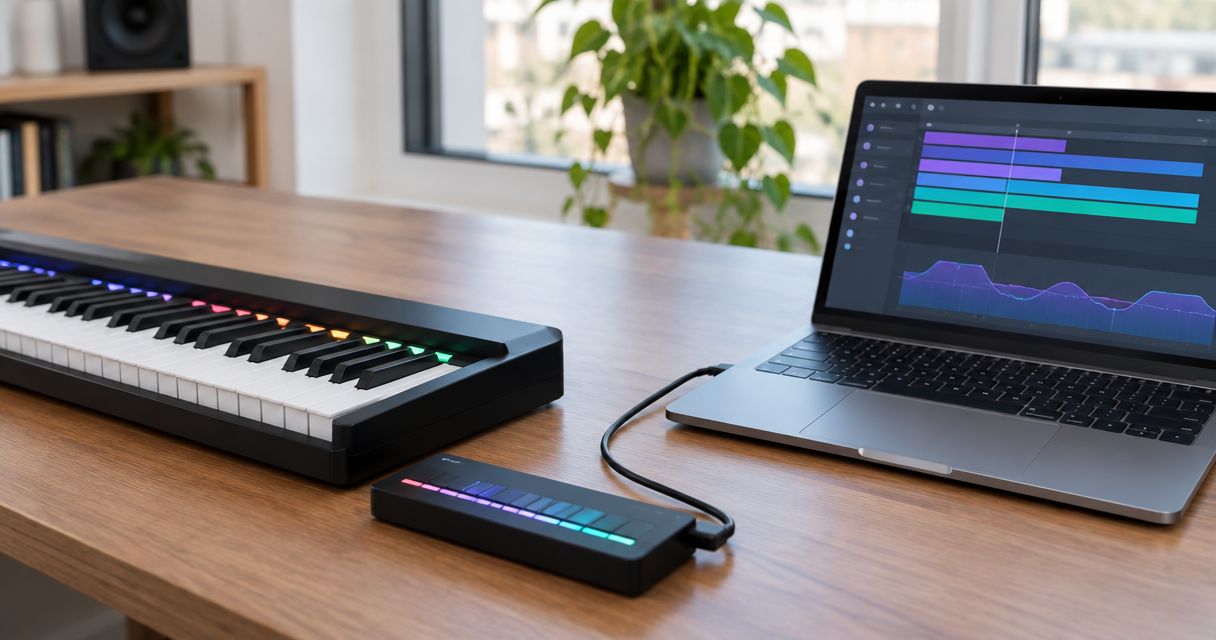
Instead of manually matching computer playback to your piano practice, establish a USB-MIDI connection between your keyboard and computer, then use the connection method documented for Piano LED Plus. A working keyboard-to-computer connection does not, by itself, establish computer control of the LED lights.
- The connect piano led plus usb midi computer workflow starts with verifying the keyboard’s MIDI connection.
- USB-MIDI carries performance instructions, not the sound you hear from your piano.
- Pianoledshop’s LED-guided learning system suits beginners who want song practice guided by app-synced lights.
- Test computer MIDI input separately from LED operation before combining your practice setup.
Why this matters
USB-MIDI and LED-guided learning solve different problems. USB-MIDI lets a compatible keyboard exchange performance messages with a computer; Piano LED Plus provides light-guided song learning synced to an app. Treat them as separate connections until the product instructions explicitly describe how they work together.
Pianoledshop’s LED-guided learning system is best for beginners who want song practice guided by app-synced lights. Its learning role does not establish compatibility with every desktop application or USB routing arrangement.
For your 2026 setup, start with the keyboard’s exact model and connection instructions. The guide to connecting Piano LED Plus to an 88-key MIDI keyboard covers the adjacent keyboard-connection workflow; this guide focuses on verifying the computer side without confusing MIDI, audio, and light control.
Before you start
- Gather the hardware: your keyboard, computer, the keyboard’s specified power supply, and a data-capable USB cable matching the keyboard’s computer connection. Have the Piano LED Plus instructions and its required learning app ready.
- Check access and compatibility: confirm the keyboard supports USB-MIDI with your operating system. If its manufacturer requires a driver, install the supported version using an account with installation permission.
- Avoid the host-port trap: a USB socket is not proof of computer connectivity. A socket intended for storage or power is not interchangeable with a computer MIDI connection, and two USB devices cannot communicate through a passive adapter alone.
Use current manufacturer instructions when checking operating-system support in 2026. Connector shape identifies the physical plug; it does not confirm MIDI support, power requirements, or the role of the port.
Keyboard-to-computer connection
Establish the physical connection
- Identify the keyboard port that its manual assigns to computer communication. Follow the manual’s connection and power-up order rather than choosing a socket because the cable fits.
- Connect the keyboard directly to the computer with a data-capable cable. For the initial test, remove optional docks and hubs so fewer components sit between the devices.
- Power the keyboard as its manufacturer specifies. Do not assume the computer supplies enough power merely because the USB plug is connected.
- Install a manufacturer driver only when the keyboard’s instructions require one. Close and reopen your music application after installation so it can detect the newly available device.
Expected result: the computer recognizes the keyboard or its MIDI interface. Recognition establishes the computer connection; it does not prove that an application is receiving notes or that the LED system is connected.
Keep the first test simple. Leave optional routing utilities and additional music applications closed until you have confirmed a working connection in one application.
Confirm operating-system recognition
On Windows, open Device Manager and inspect the connected hardware. MIDI-capable devices can appear under Sound, video and game controllers, although the exact name and location depend on the device and driver. Follow the keyboard manufacturer’s troubleshooting instructions if Windows reports a device error.
On macOS, open Audio MIDI Setup, then choose Window and Show MIDI Studio. Inspect the available MIDI devices. A recognized device can appear under its manufacturer’s name, its model, or an interface name rather than the product name you expected.
Record the name the computer actually displays. You will use that identity when choosing the input inside your music application; do not select an unrelated device simply because its name includes MIDI.
Expected result: you can identify the keyboard’s MIDI connection without an operating-system device error. If recognition fails here, fix the cable, port, driver, or compatibility problem before adjusting app settings.
Application input and note testing
Select the keyboard input
- Open a music application that accepts external MIDI input. Use its documented MIDI input settings to select the device identified during the operating-system check.
- Enable that input if the application requires a separate activation setting. If you are recording, select a MIDI or instrument track rather than an audio-only track.
- Assign a software instrument when you want the computer to produce sound. MIDI messages alone do not generate an audible instrument.
- Enable the application’s documented input monitoring or recording function. Setting names differ between applications, so use the labels in that application’s own instructions.
- Press 1 key, hold it briefly, and release it. Look for an incoming-note indicator, a recorded note, or another visible sign of MIDI reception.
Expected result: pressing and releasing a key produces a corresponding MIDI event. Hearing sound is a separate check that depends on the software instrument, monitoring, and audio output.
Repeat the test with 3 notes played separately. Listen for each note ending when you release the key, and check that the application does not record duplicate notes from overlapping input routes.
The distinction matters: a piano can make sound through its own speakers while the computer receives nothing. Conversely, the computer can receive MIDI correctly while remaining silent because no software instrument is assigned.
LED learning connection and verification
Establish the documented learning connection
- Follow the Piano LED Plus instructions for connecting the learning system and its app. Preserve the documented connection roles rather than adding an unverified computer cable between components.
- Confirm the learning app communicates with the system using the manufacturer’s connection check. Keep computer recording outside this test until the guided-learning connection works independently.
- Choose a familiar passage and compare the illuminated key positions with the intended notes. Verify physical alignment before interpreting a mismatch as a software problem.
- If you want computer playback to drive the lights, check for explicit instructions covering the computer operating system, MIDI destination, and connection arrangement. Do not treat keyboard MIDI detection as proof that computer-to-light control is supported.
Expected result: the app-synced learning system operates through its documented connection. Any additional computer-to-light route requires its own confirmed setup rather than an assumed MIDI output selection.
For a 2026 practice setup, keep a short record of the working device names, cable arrangement, and application versions. That record makes it easier to restore the connection after changing computers or updating software.
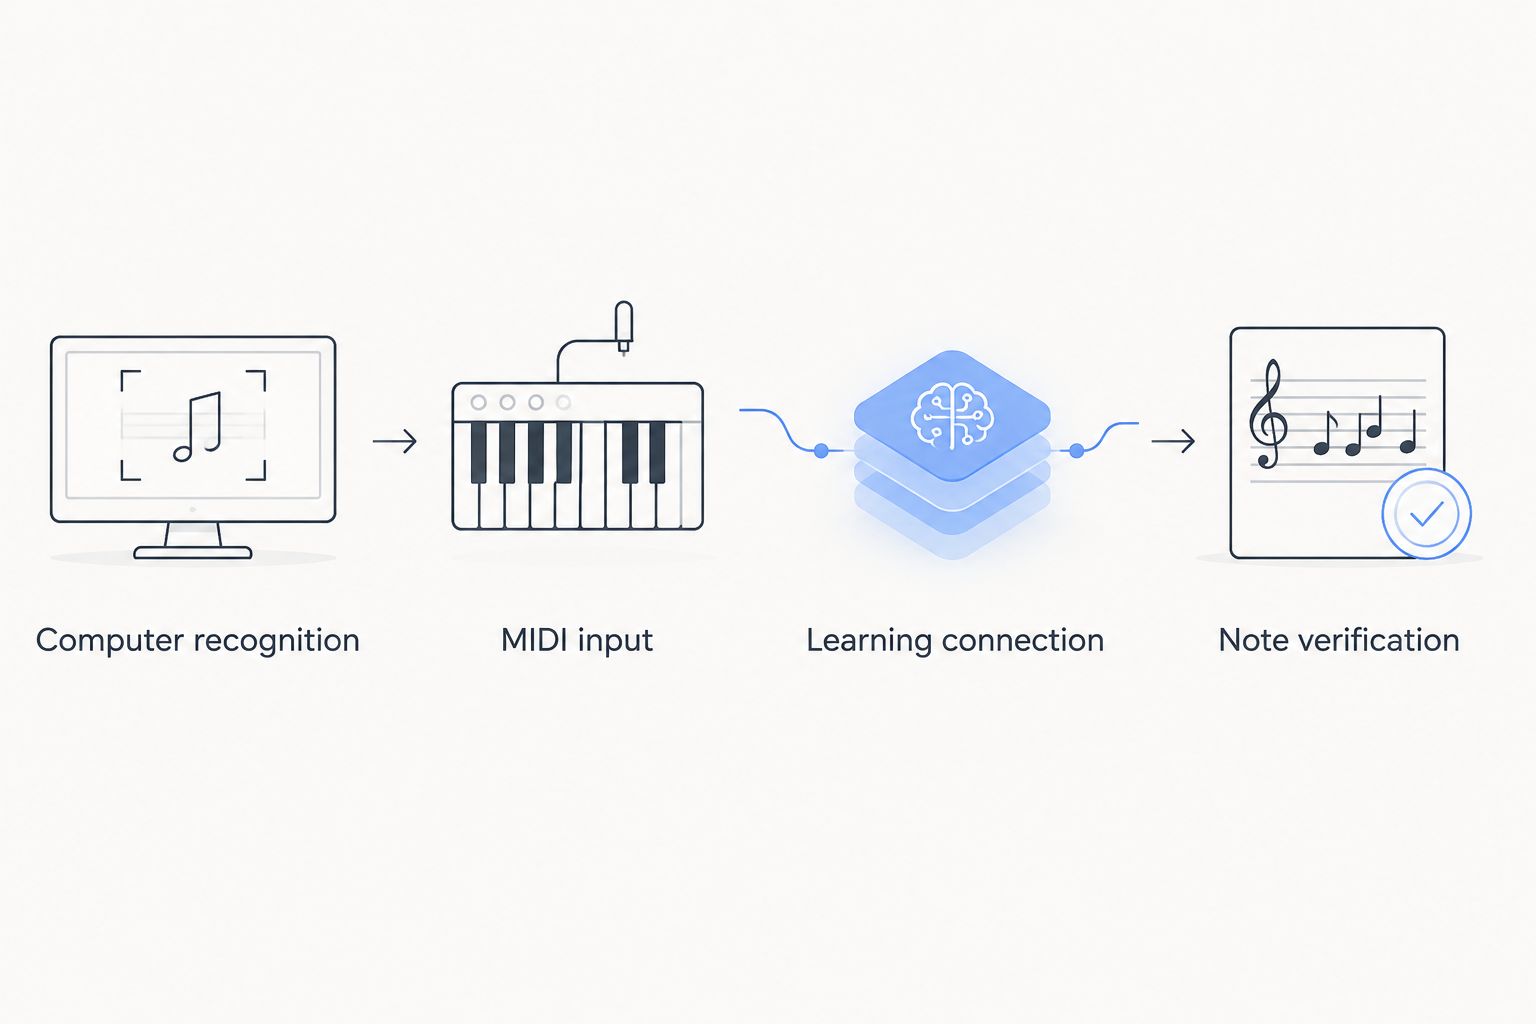
The checks follow a sequence, not a single all-or-nothing test. Confirm Computer recognition, then MIDI input, then the separate Learning connection, and finally Note verification before combining activities.
Second workflow: record your playing on the computer
Best for reviewing your performance: use the verified keyboard-to-computer MIDI input to record a practice passage. This workflow captures performance events; it does not establish a new way to control the lights.
- Create a MIDI or instrument track and select the verified keyboard input.
- Record a short passage, including a held note and a clear release. Add pedal use only after basic notes record correctly.
- Inspect the recording for missing notes, duplicates, and notes that continue beyond release.
- Play the recording through a software instrument. Send it back to the keyboard only if the keyboard’s manual confirms MIDI reception and the required output settings.
Expected result: the computer records your playing and can replay it through a configured sound source. Whether LED learning and computer recording can run together depends on the documented connection arrangement.
Choose the workflow by its purpose rather than the presence of a USB cable:
| Workflow | Best for | Advantage | Limitation |
|---|---|---|---|
| Keyboard-to-computer MIDI recording | Reviewing notes and performance timing | Records editable performance events | Does not record the piano’s actual sound |
| App-synced LED learning | Following illuminated song guidance | Gives visual prompts at the keyboard | Does not itself establish desktop MIDI compatibility |
| Separate audio recording | Capturing the instrument’s sound | Preserves the audible performance | Does not provide editable MIDI notes |
Pianoledshop’s LED-guided learning system serves the visual-practice role. Keep that benefit separate from the computer’s recording functions when deciding which connections you need.
Troubleshooting
The computer does not detect the keyboard
Check that the cable carries data and that the keyboard port supports computer MIDI. Reconnect directly to the computer, confirm the keyboard has power, and follow the manufacturer’s driver instructions. A power light or charging indication does not prove that USB data is passing.
The computer detects the keyboard, but the app receives nothing
Select the device inside the application and enable its MIDI input. Check the track input and the application’s documented monitoring settings. Close other music applications while testing, particularly when a driver does not allow multiple applications to use the same MIDI port.
Notes register, but there is no sound
Assign a software instrument, enable monitoring, and check the computer’s audio output. USB-MIDI carries note and controller messages rather than the piano’s audio. To record the instrument’s own sound, use an audio connection supported by its manual.
Notes double, echo, or remain sounding
Remove duplicate input routes and check for a MIDI feedback loop. If both the keyboard’s internal sound and a software instrument play together, choose which sound source you want before changing settings. Use the application’s documented all-notes-off function if notes remain stuck, then correct the routing before recording again.
The keyboard records correctly, but the lights do not respond
Return to the documented learning-app connection and verify it independently. Check the selected lesson and physical light alignment. A successful computer recording proves MIDI input to that computer; it does not prove that the LED system accepts output from that application.
Customize your workflow
Build your 2026 practice routine around one verified task at a time. Start with guided song practice, add computer recording if it answers a specific learning question, and introduce playback routing only after confirming support.
MIDI supports 16 channels, but matching channels is not a substitute for a supported connection. When an application filters input by channel, check that its filter accepts the channel your keyboard transmits. Avoid changing several settings at once: each change should have a visible result you can test.
For Pianoledshop learners, the useful next step is a repeatable practice sequence: choose a manageable passage, practise it with guidance, then check what you can play without watching the lights. Recording is useful when you have a particular timing or note question—not simply because the computer is connected.
FAQ
How do I connect Piano LED Plus to a computer through USB-MIDI?
First verify the keyboard-to-computer USB-MIDI connection, then follow the documented Piano LED Plus connection instructions. Computer control of the lights requires an explicitly supported routing method; keyboard detection alone does not establish it.
Does a USB-MIDI cable carry my piano’s sound?
USB-MIDI carries performance messages, not audio. Some instruments also support USB audio, but that is a separate capability you must confirm in the instrument’s manual.
Can I connect two USB devices with a simple adapter?
A passive adapter does not replace a USB host. Confirm which component provides the host role and follow the supported connection arrangement.
Why does my computer recognize the piano but receive no notes?
The music application needs the correct MIDI input selected and enabled. Check its track input, monitoring settings, and any channel filter after confirming operating-system recognition.
Can I record MIDI while using the LED learning system?
Simultaneous use requires a connection arrangement supported by the equipment and applications. Verify the learning connection and computer recording separately before attempting both together.
Why can I see MIDI notes but hear nothing?
MIDI reception does not produce sound without a configured sound source. Assign a software instrument, enable monitoring, and select a working audio output.
Do I need a driver for a USB-MIDI keyboard?
Driver requirements depend on the keyboard and operating system. Follow the keyboard manufacturer’s current compatibility instructions rather than installing an unrelated driver.
One last thing
Save a working-setup note before installing your next update. Include the keyboard model, detected MIDI device name, selected application input, and cable arrangement. A screenshot of the successful input test is more useful than remembering that the setup worked sometime in 2026.
Keep the decisive distinction in that note: receiving notes, producing sound, and displaying learning lights are separate results. Verify each result instead of treating a connected USB cable as the finish line.